

Fall Peony Clean Up and Care
/If I could grow only 4 types of flowers, they would be ranunculus, dahlias, zinnias and peonies. Peonies are hands-down the most low maintenance flower on my list – and many folks would say their favorite flowers too. Once the peonies bloom in May, we basically forget about them until the fall when it’s time to give them a little care. After many years of doing things the hard way, we finally have a good system for fall peony clean up. I hope this helps you make caring for your peonies a little simpler too!
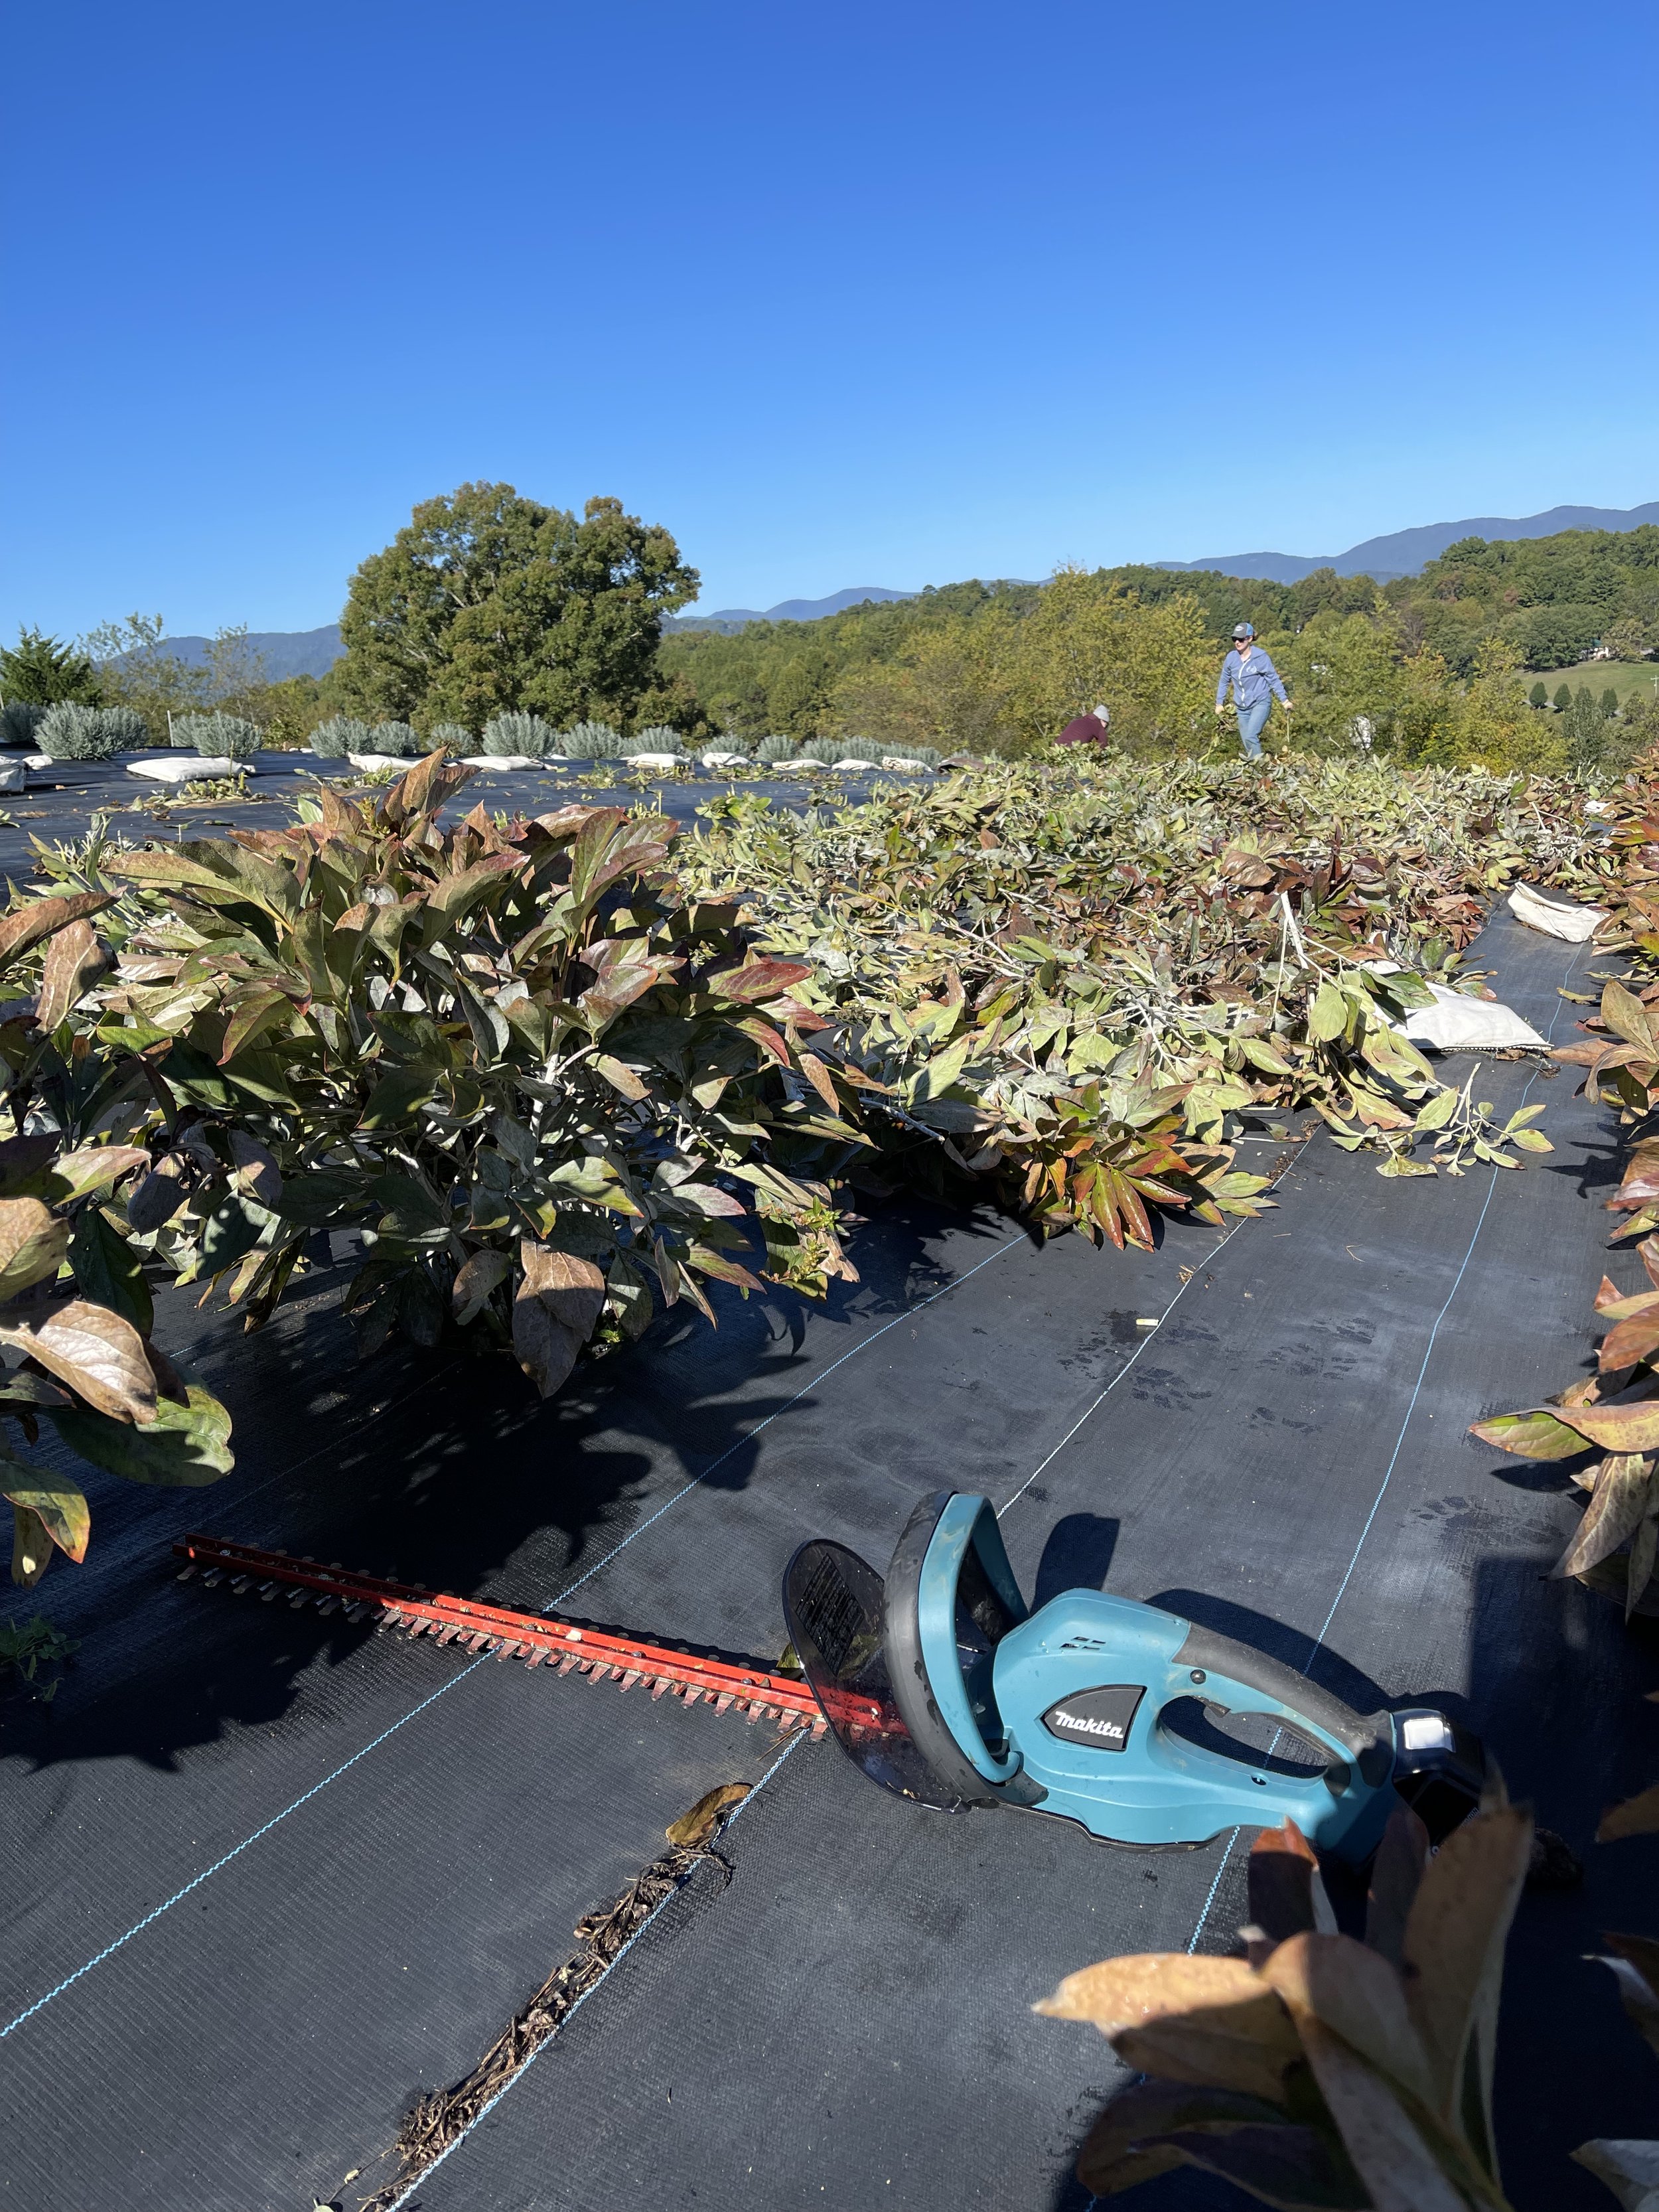
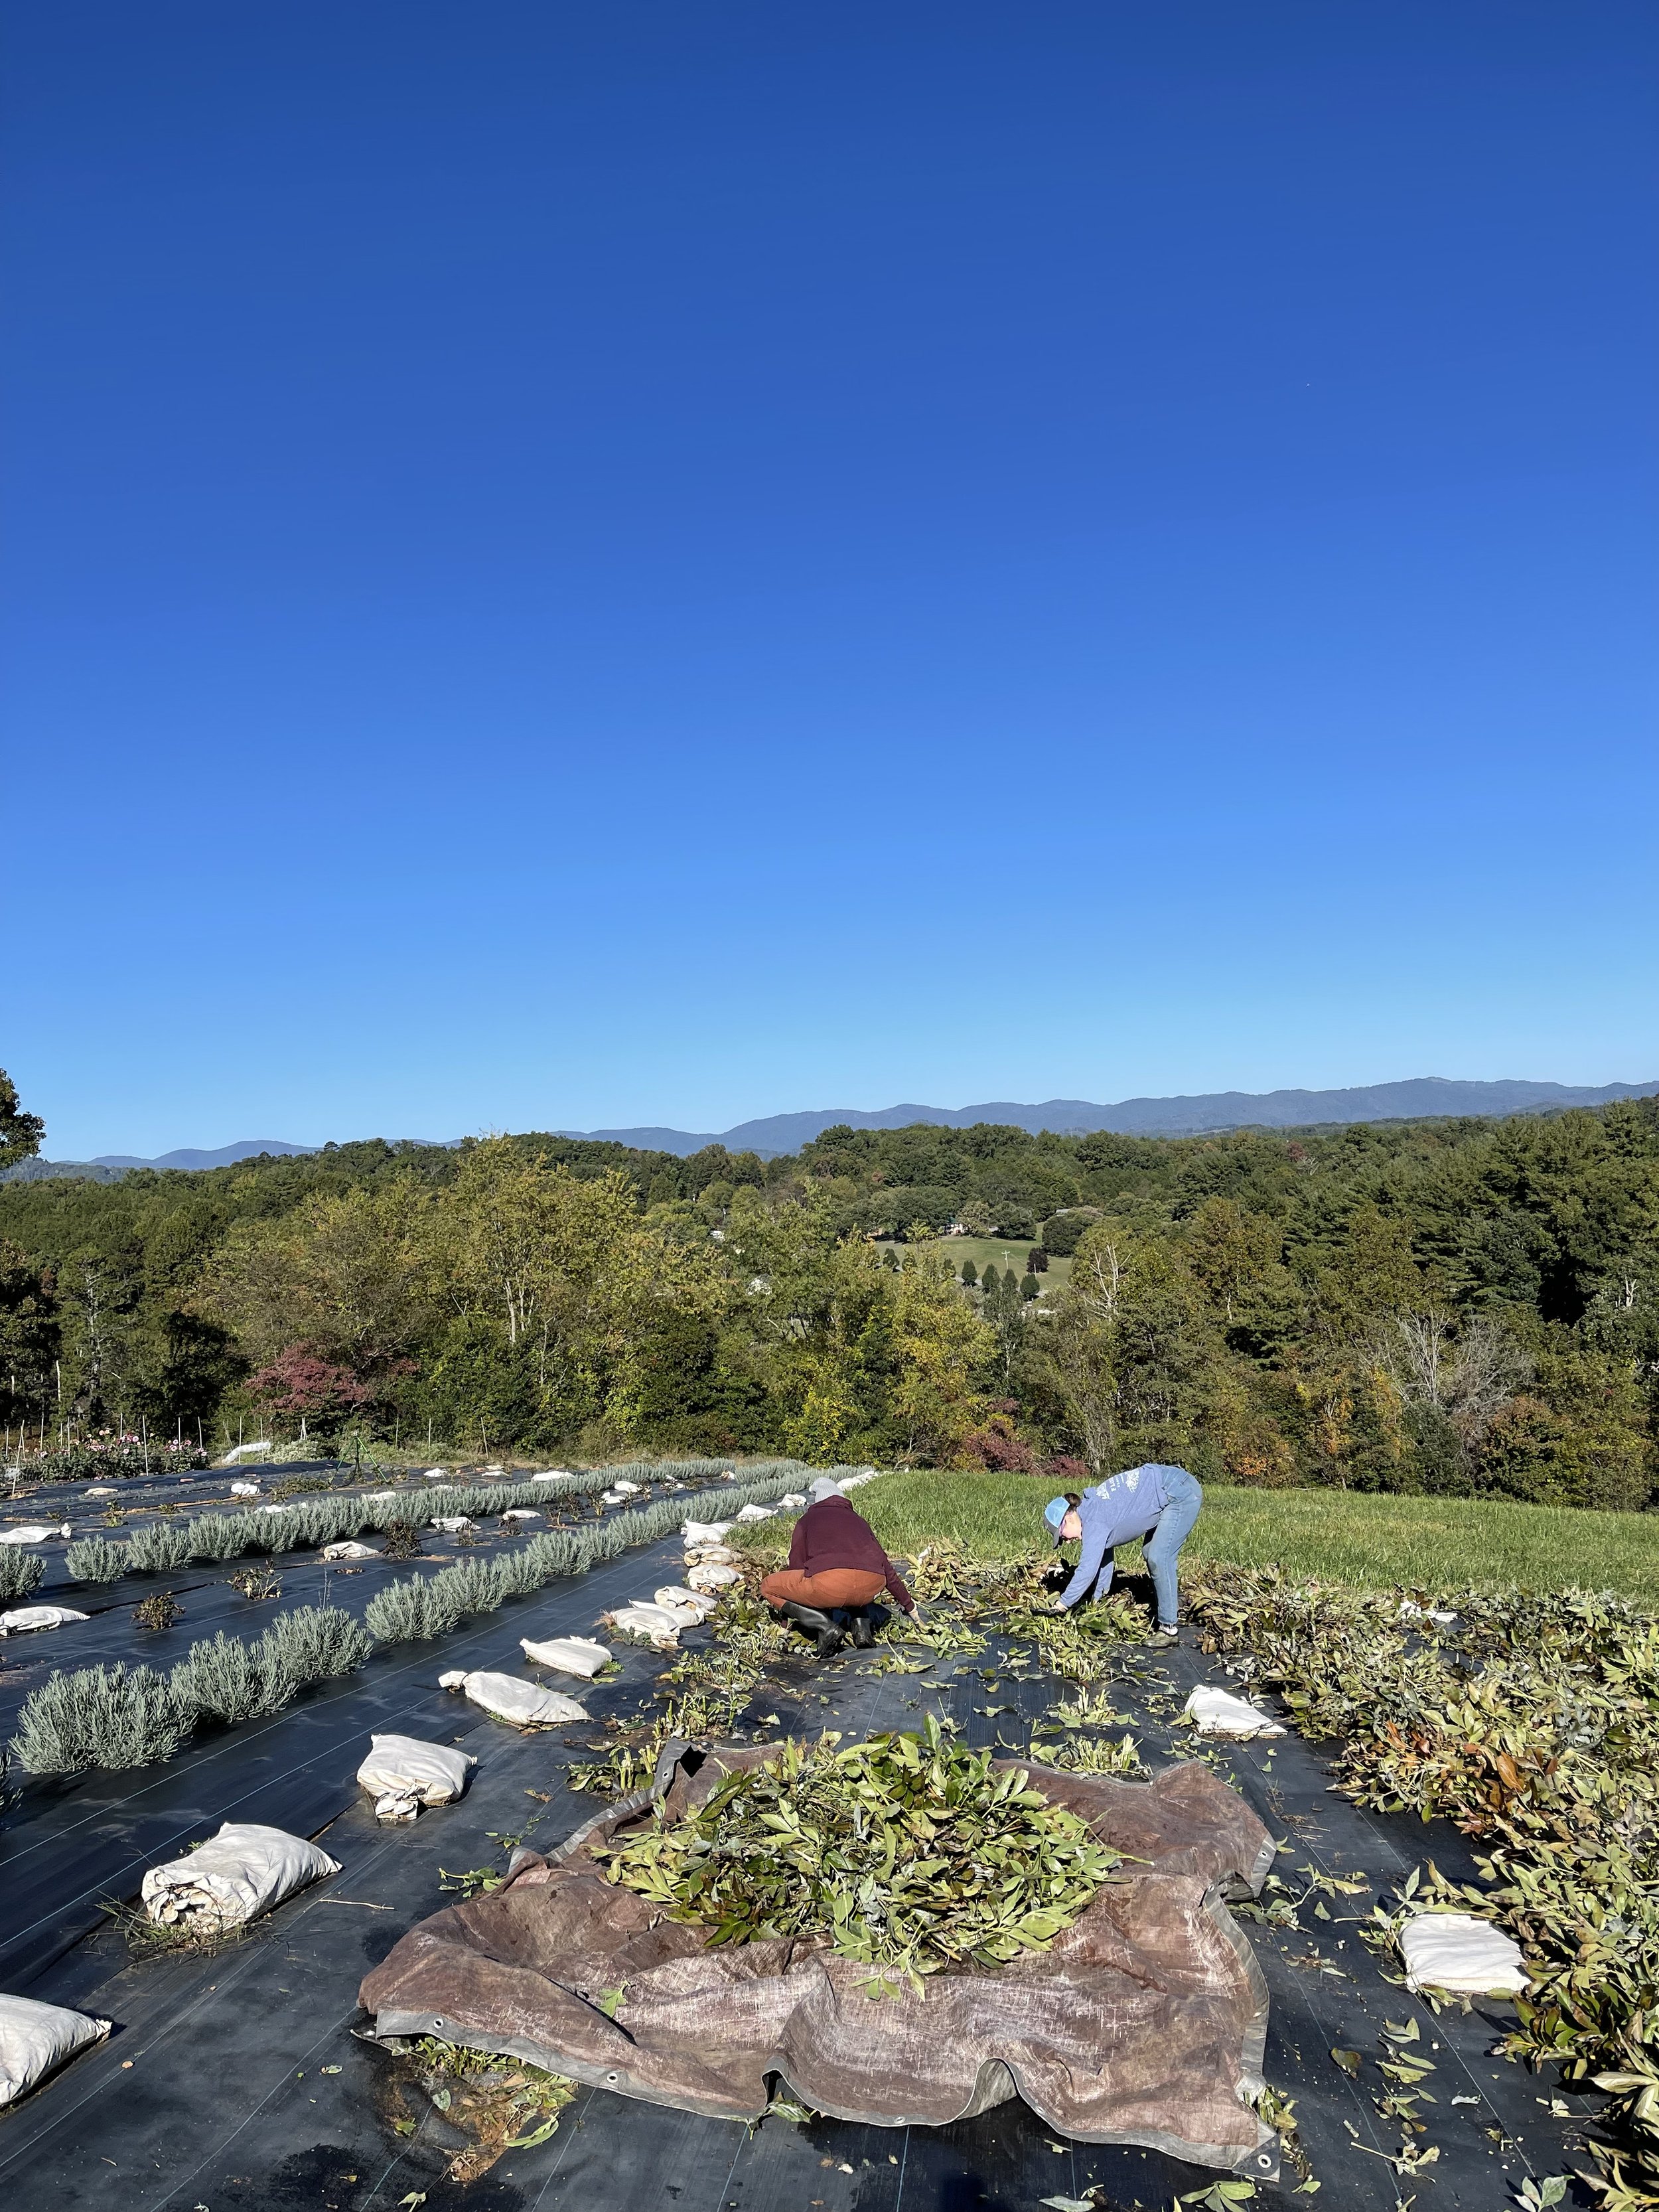
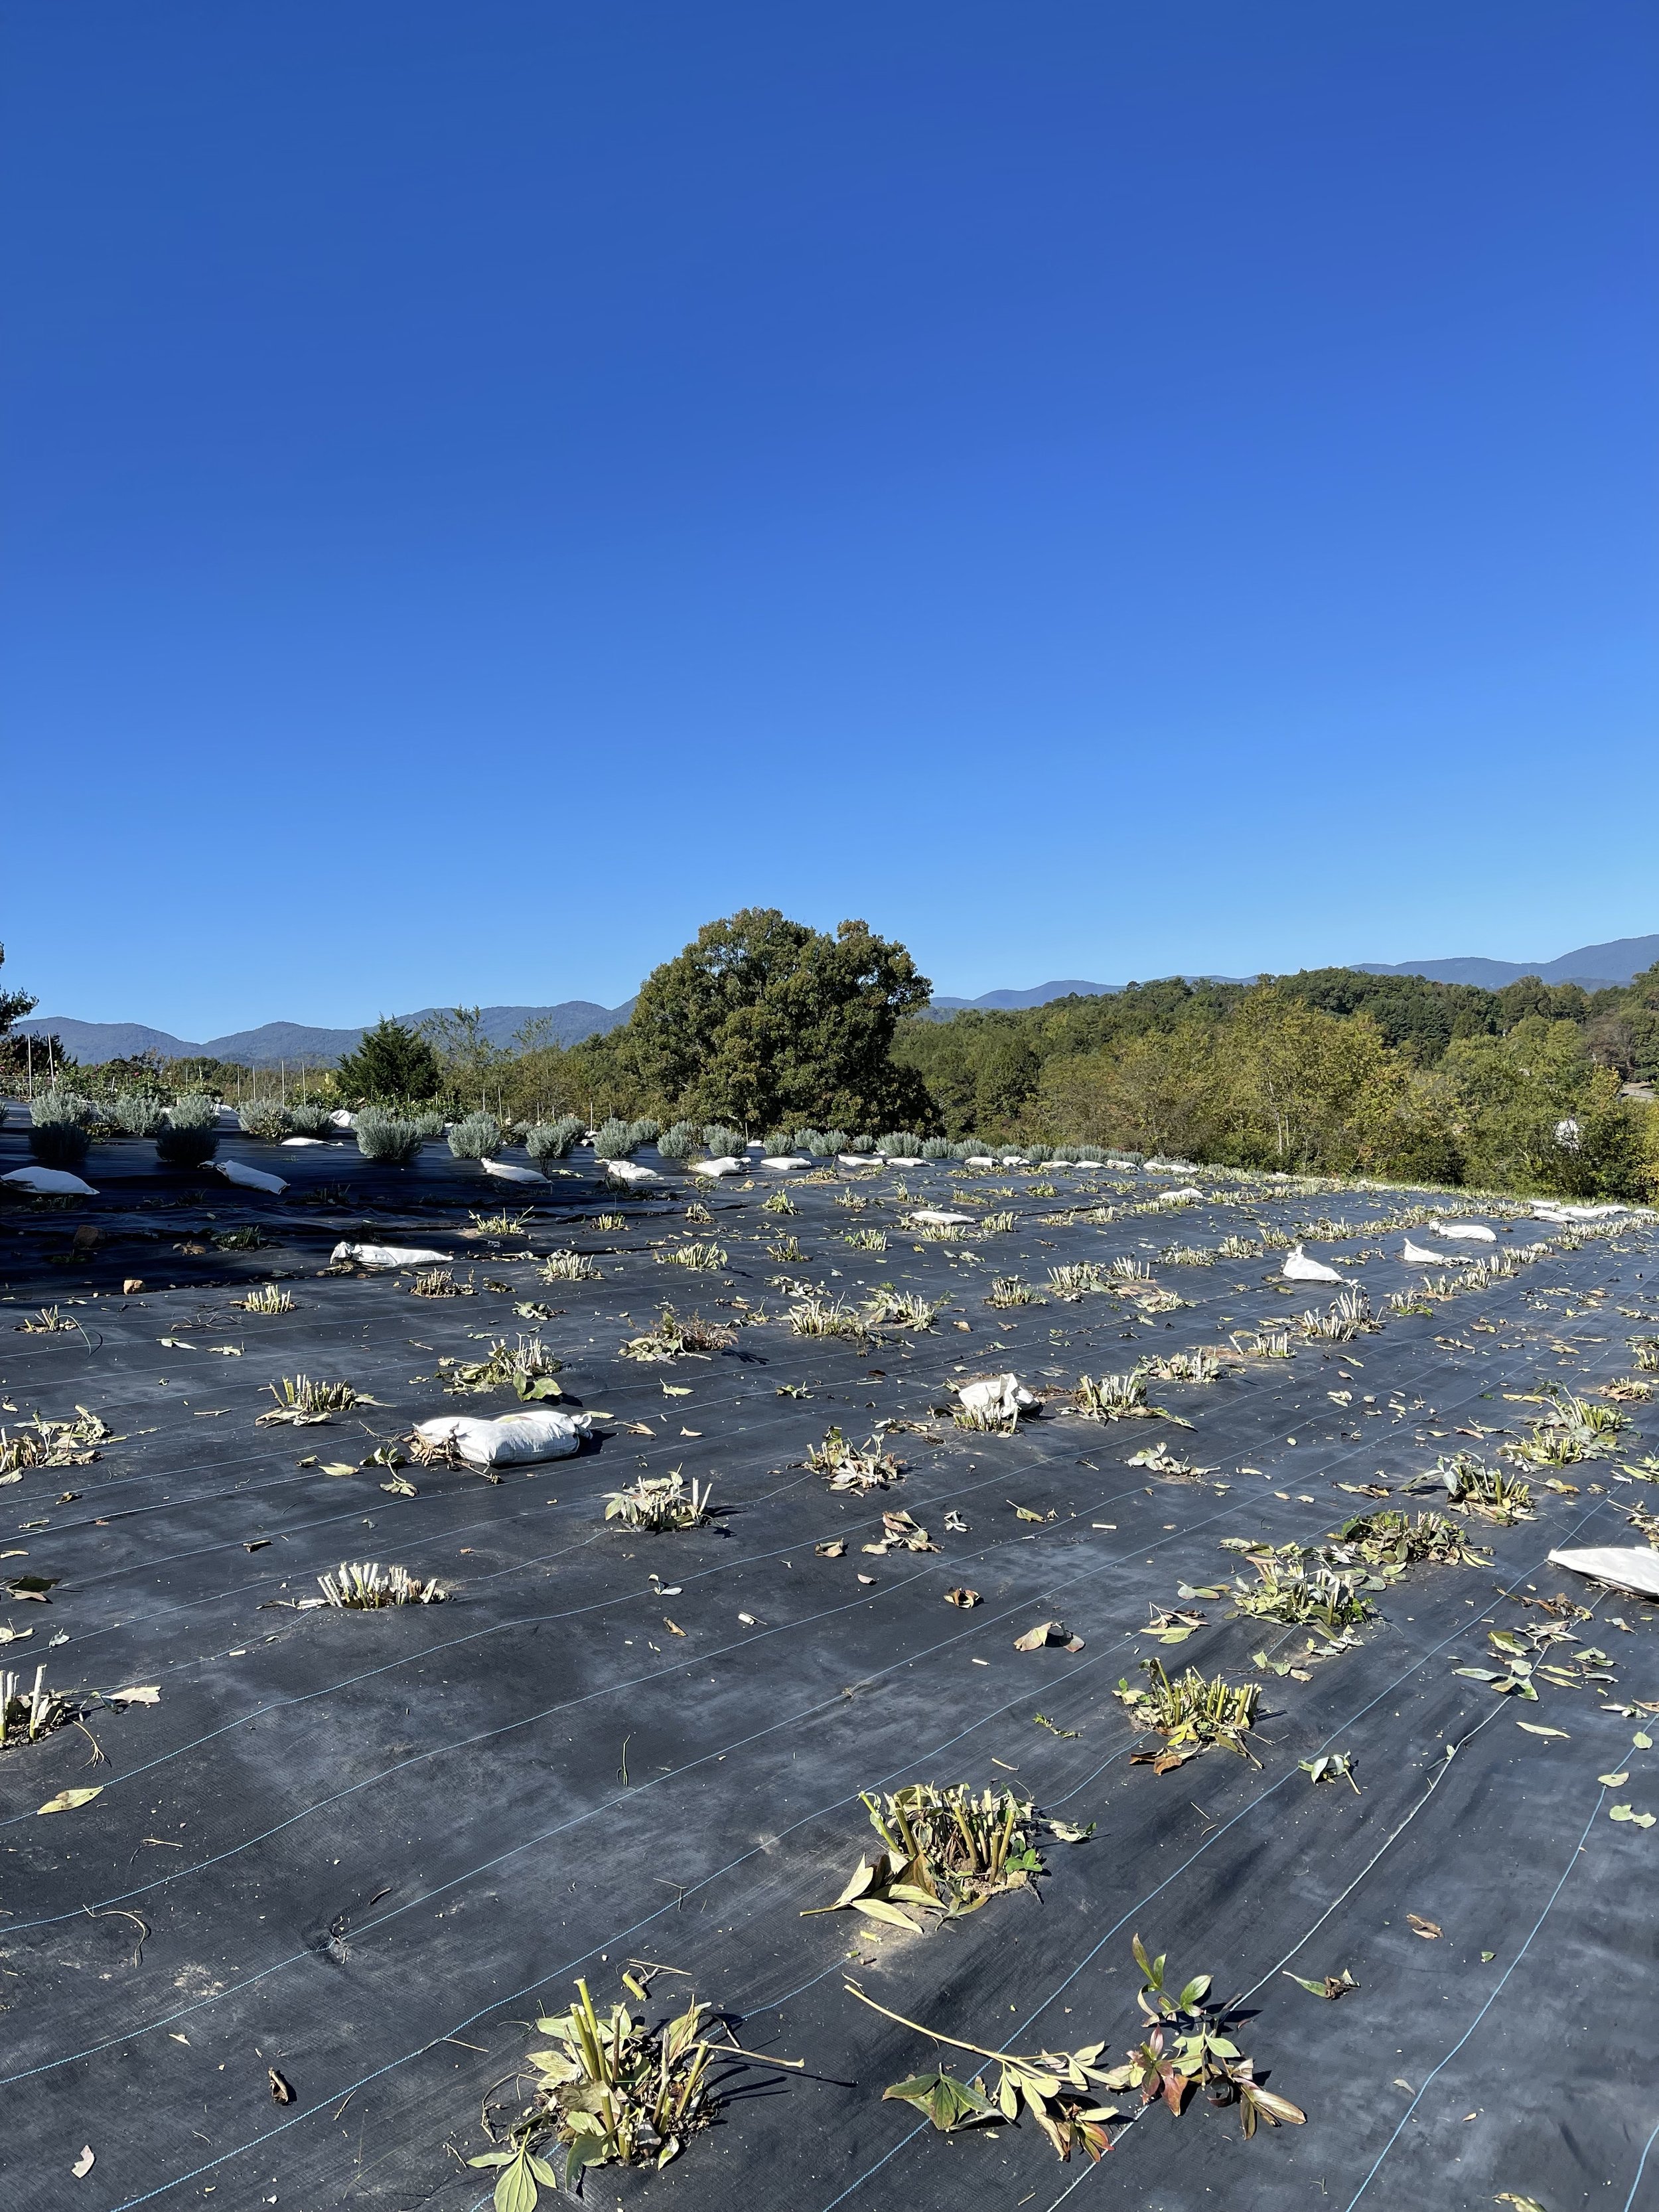
Peonies are very prone to fungal and bacterial diseases, so removing the foliage at the end of the season is very important. They also grow new shoots and foliage from the ground up each spring, so the old foliage is not needed. Once the foliage turns coppery brown or black in the fall, it’s time to cut them back. We used to use snips or loppers to cut the foliage by hand, but now we work smarter using a battery powered hedge trimmer (like this one). One person uses the hedge trimmer to chop the foliage to the ground. Another 1-2 people go behind and gather all the foliage onto a big tarp, dragging it to our burn pile once full. Because of the risk of transmitting disease, we do not add any peony debris to our compost pile – it always goes into a burn pile. This year it took our team of 3 people just 1.5 hours to cut back our 500 peonies!

Next we add a small handful of well-aged, nutrient-rich compost over the peony roots. That is all the maintenance we do until springtime! Fall is also the best time to plant new peonies. As long as the ground isn’t frozen, you can plant peonies.
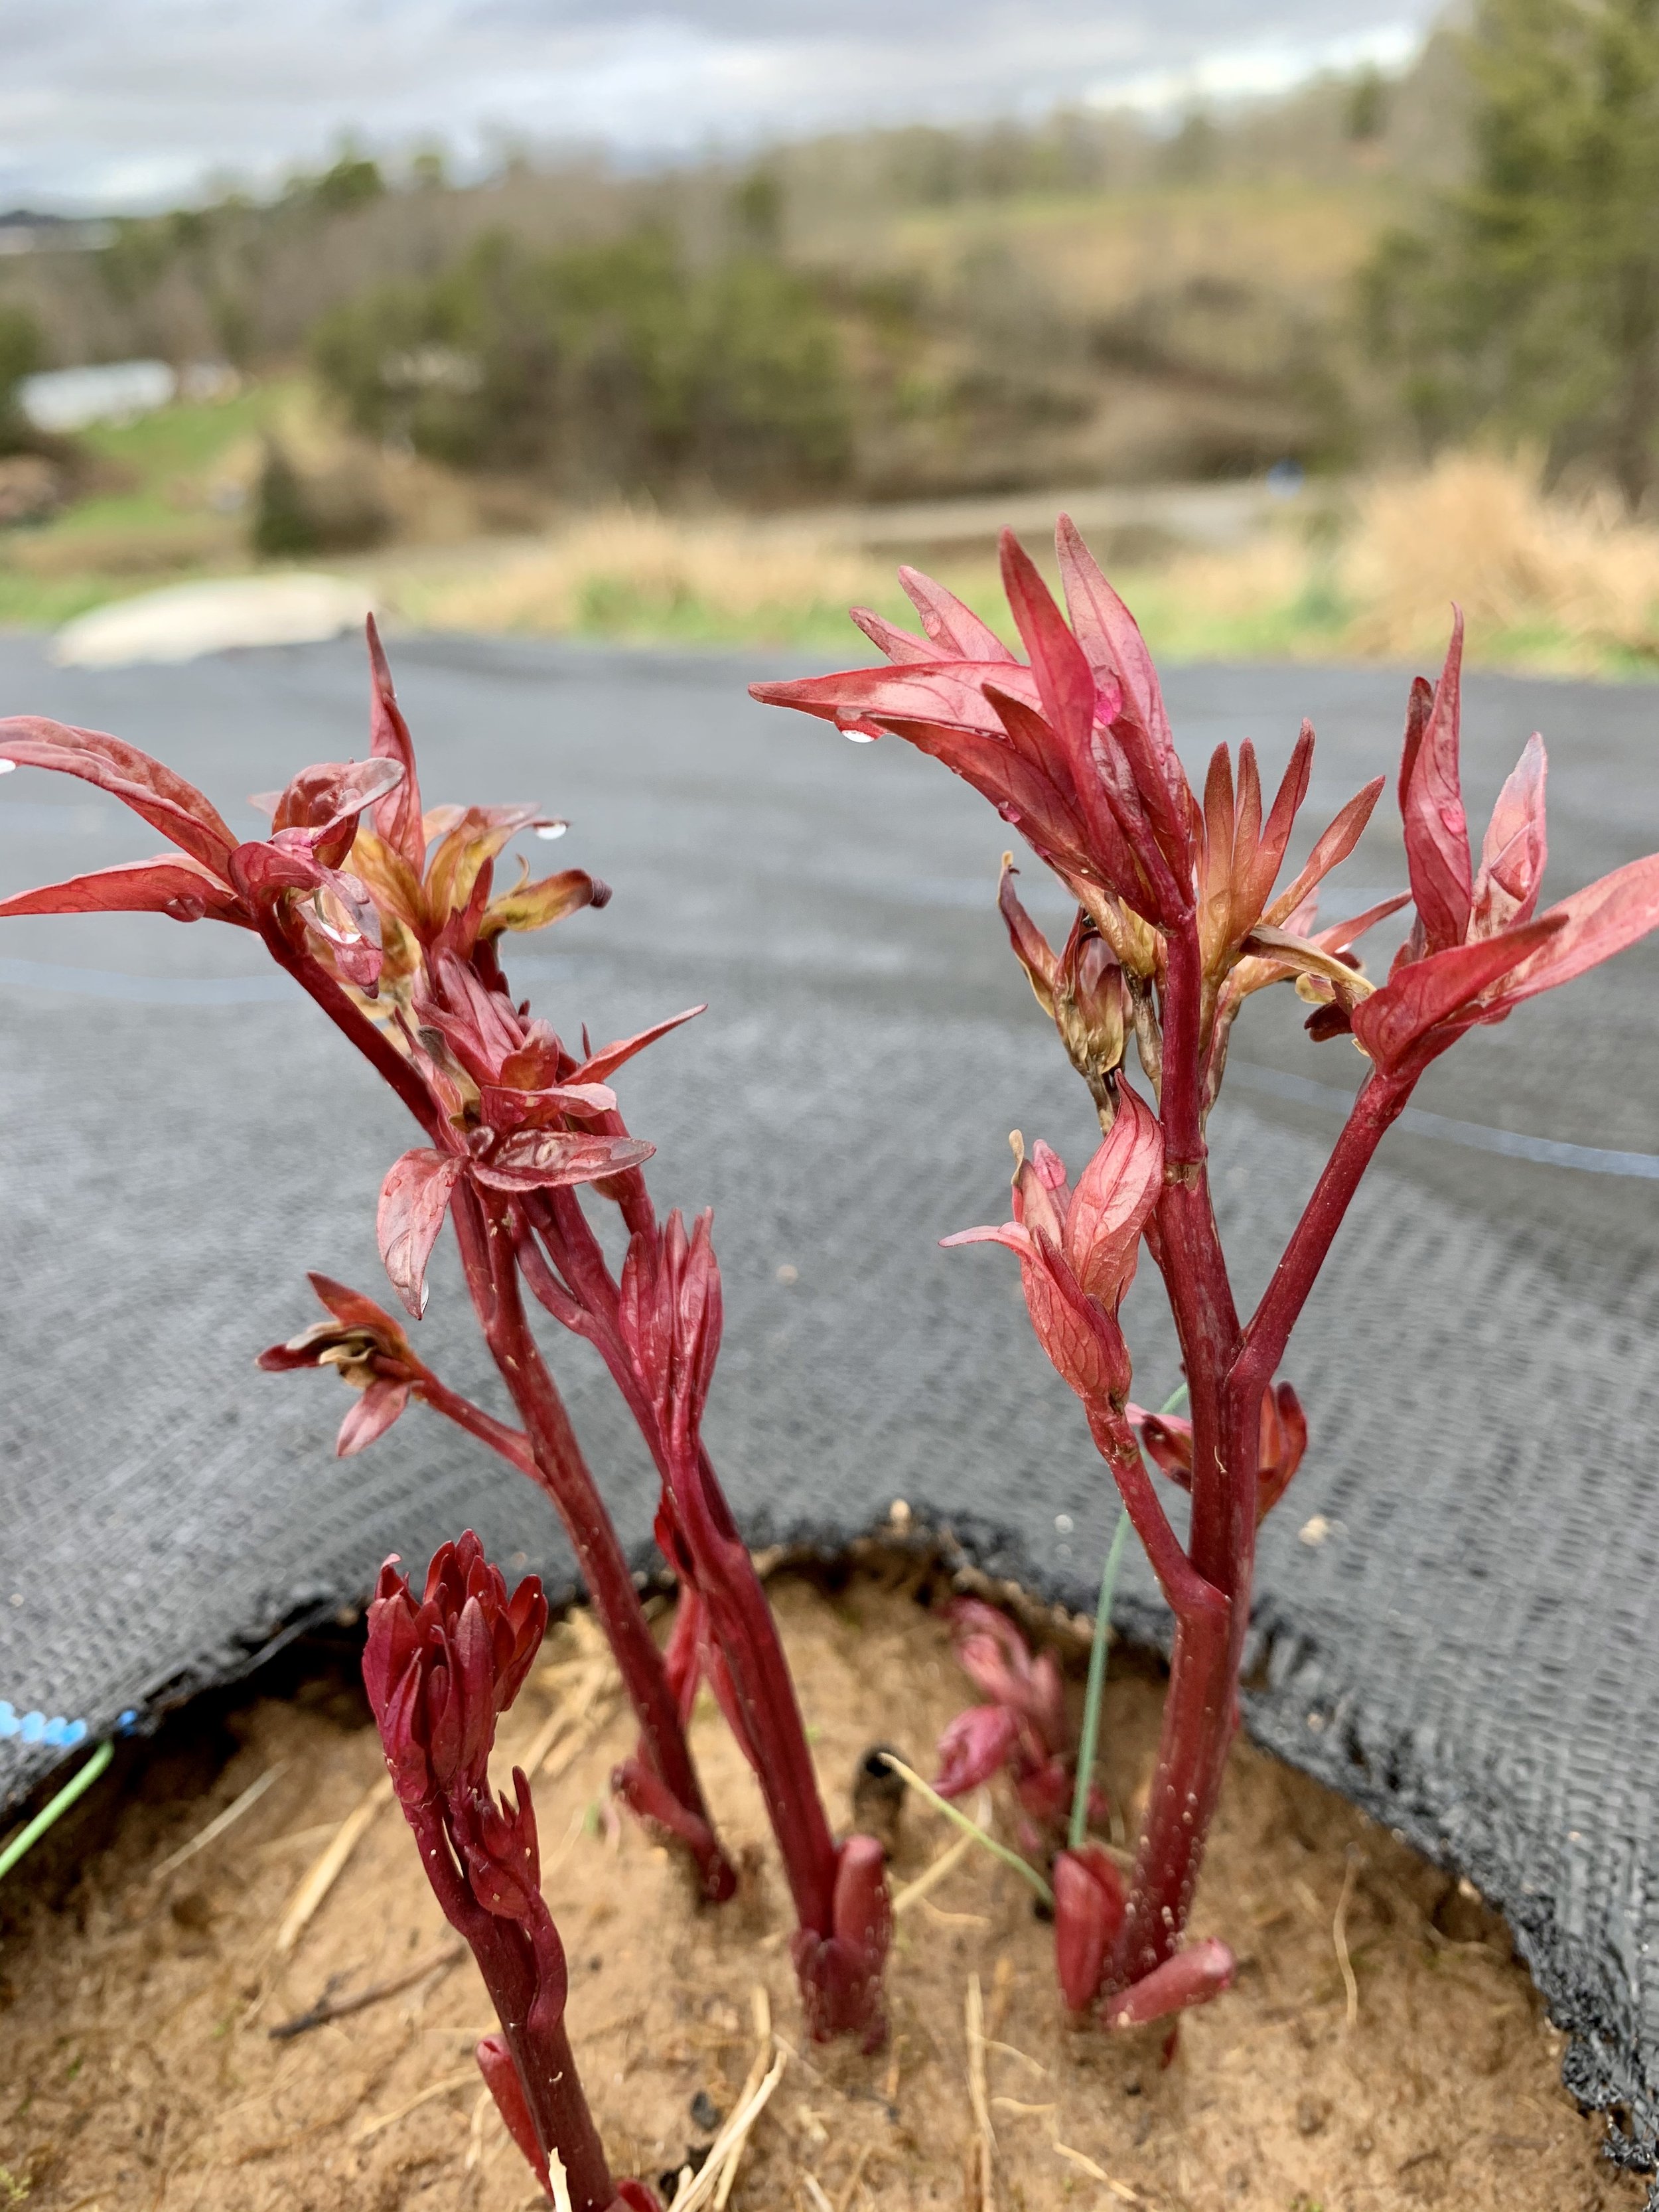
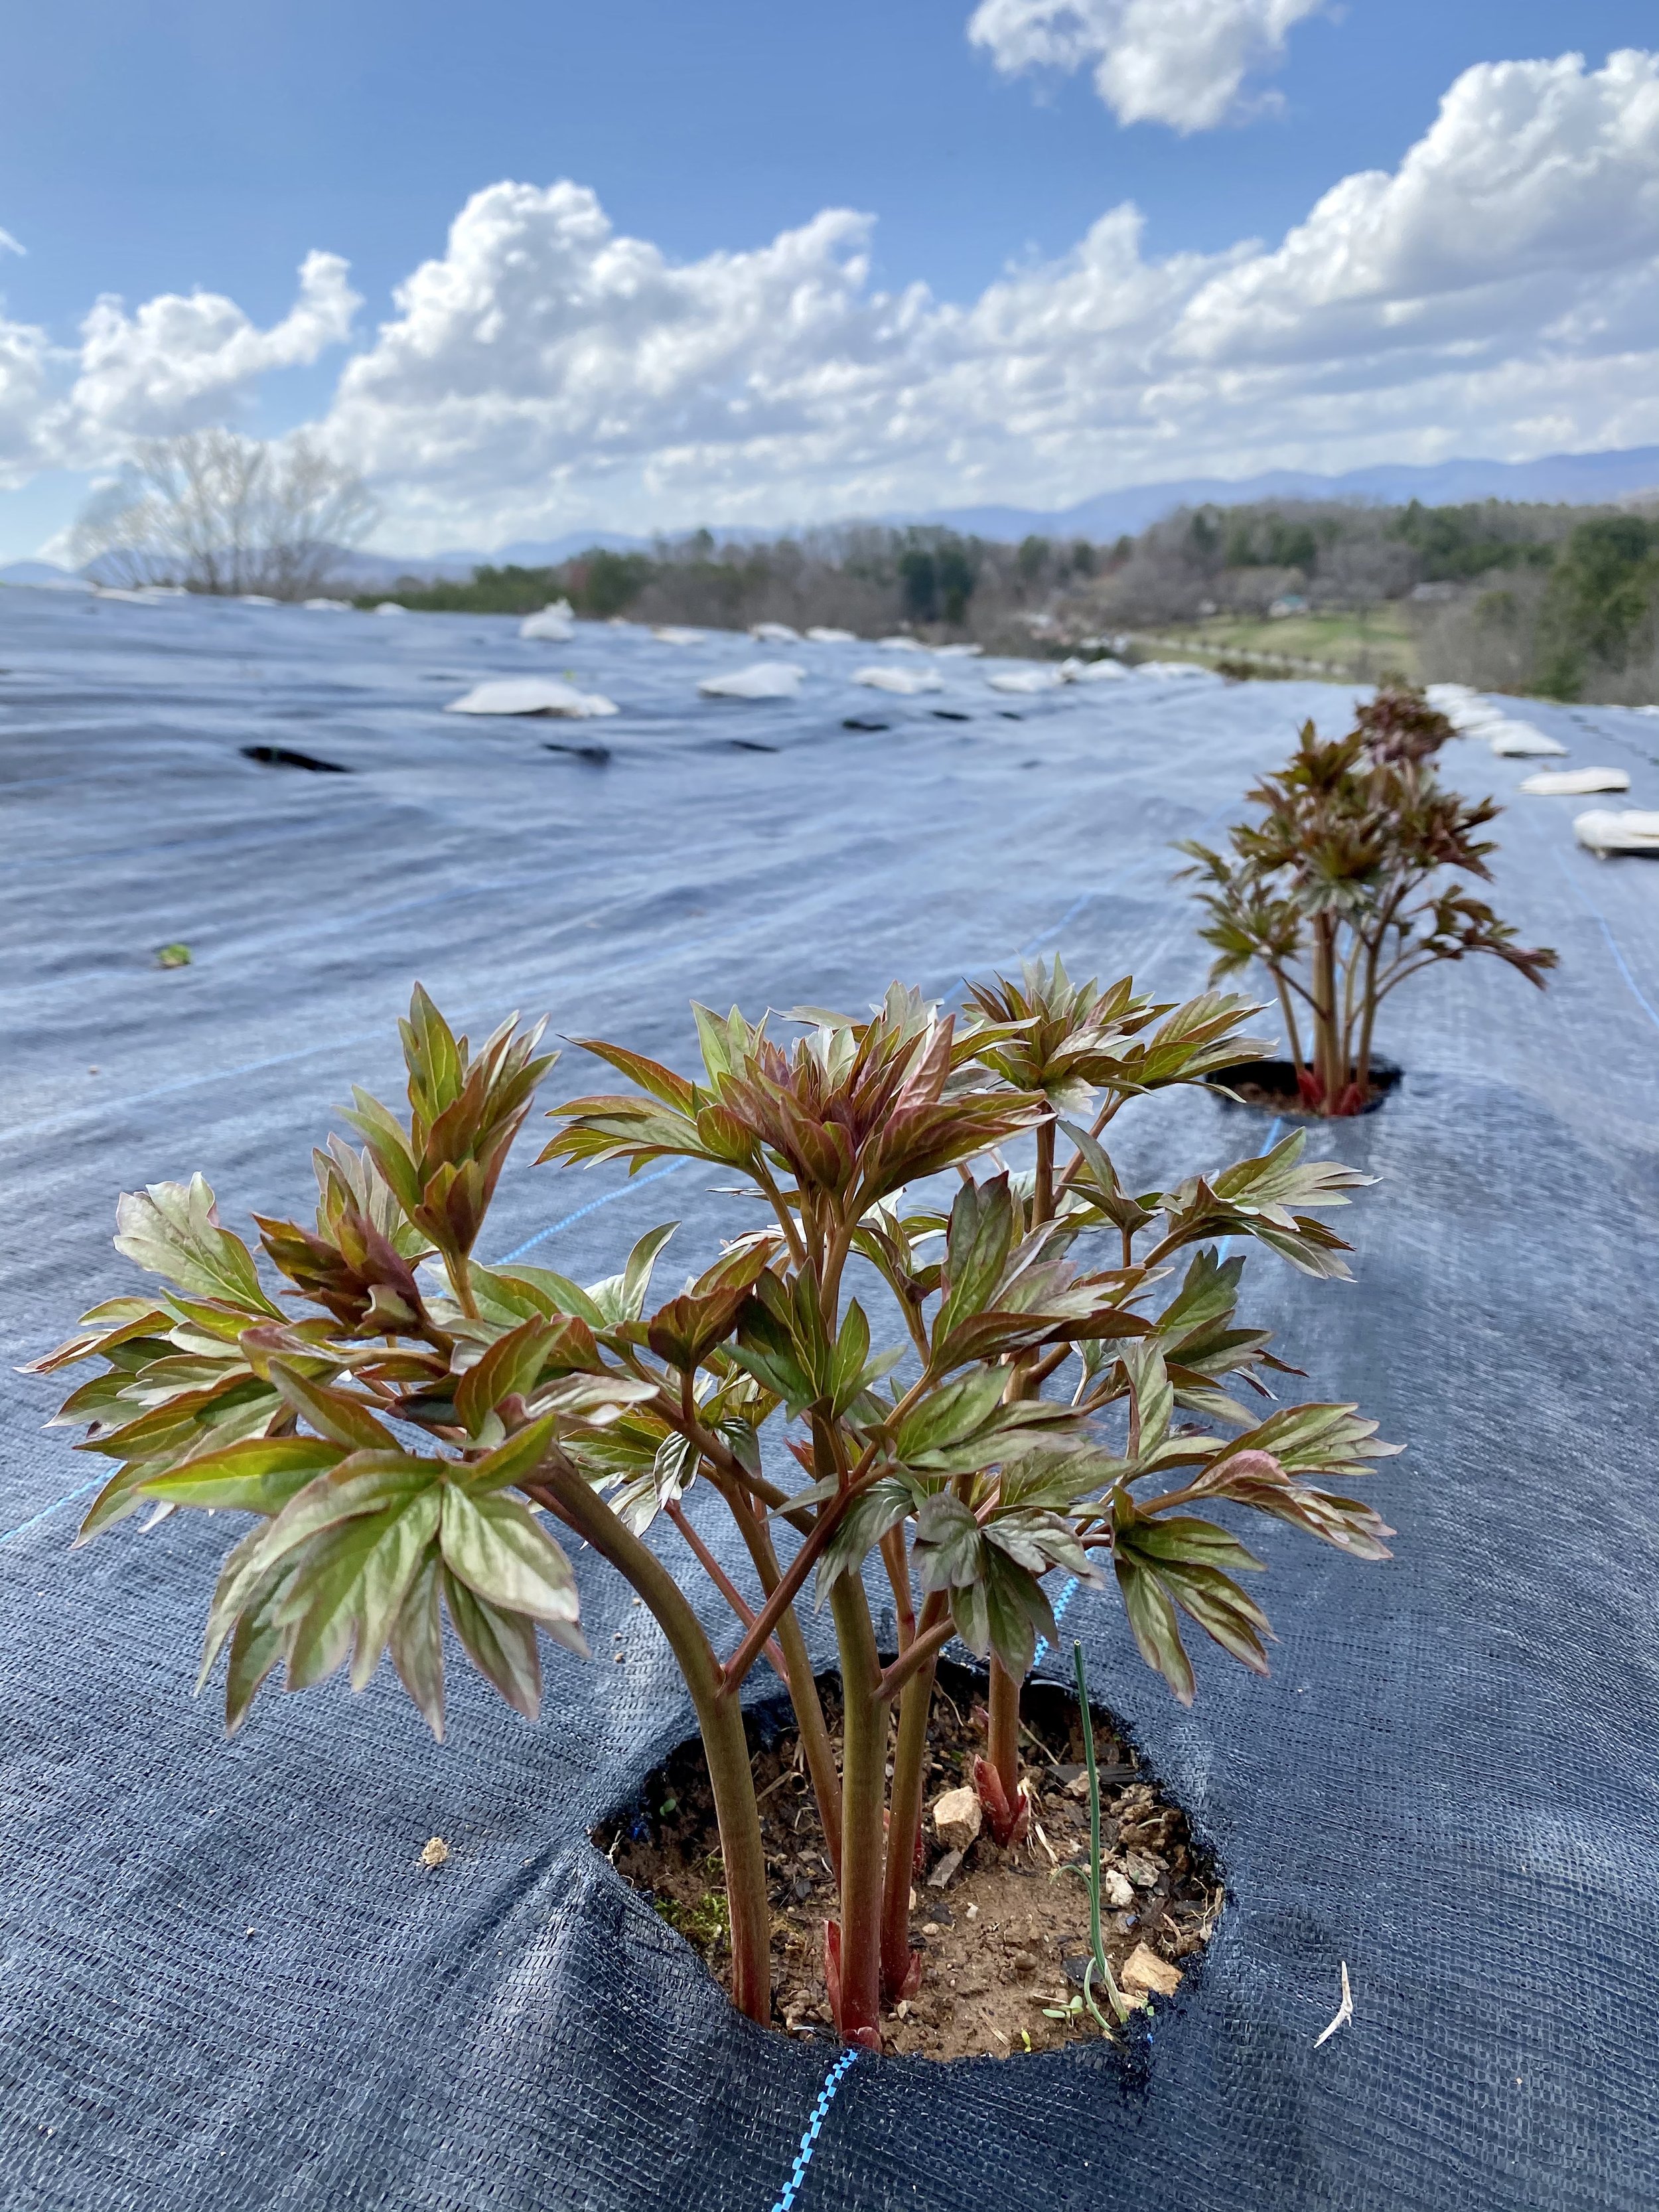
Once the peonies start poking up their red shoots in late winter/early spring, we add a small sprinkle of well-balanced organic fertilizer. As the peonies grow taller, we watch carefully for any signs of leaf spotting or fungus. If we notice any potential disease/fungus, we spray lightly with a biological fungicide or calcium chloride. This is the only product (besides fish fertilizer or compost tea) that we spray at our farm because our peonies are such a large financial investment. We protect that investment by watching carefully and treating for any signs of fungus.
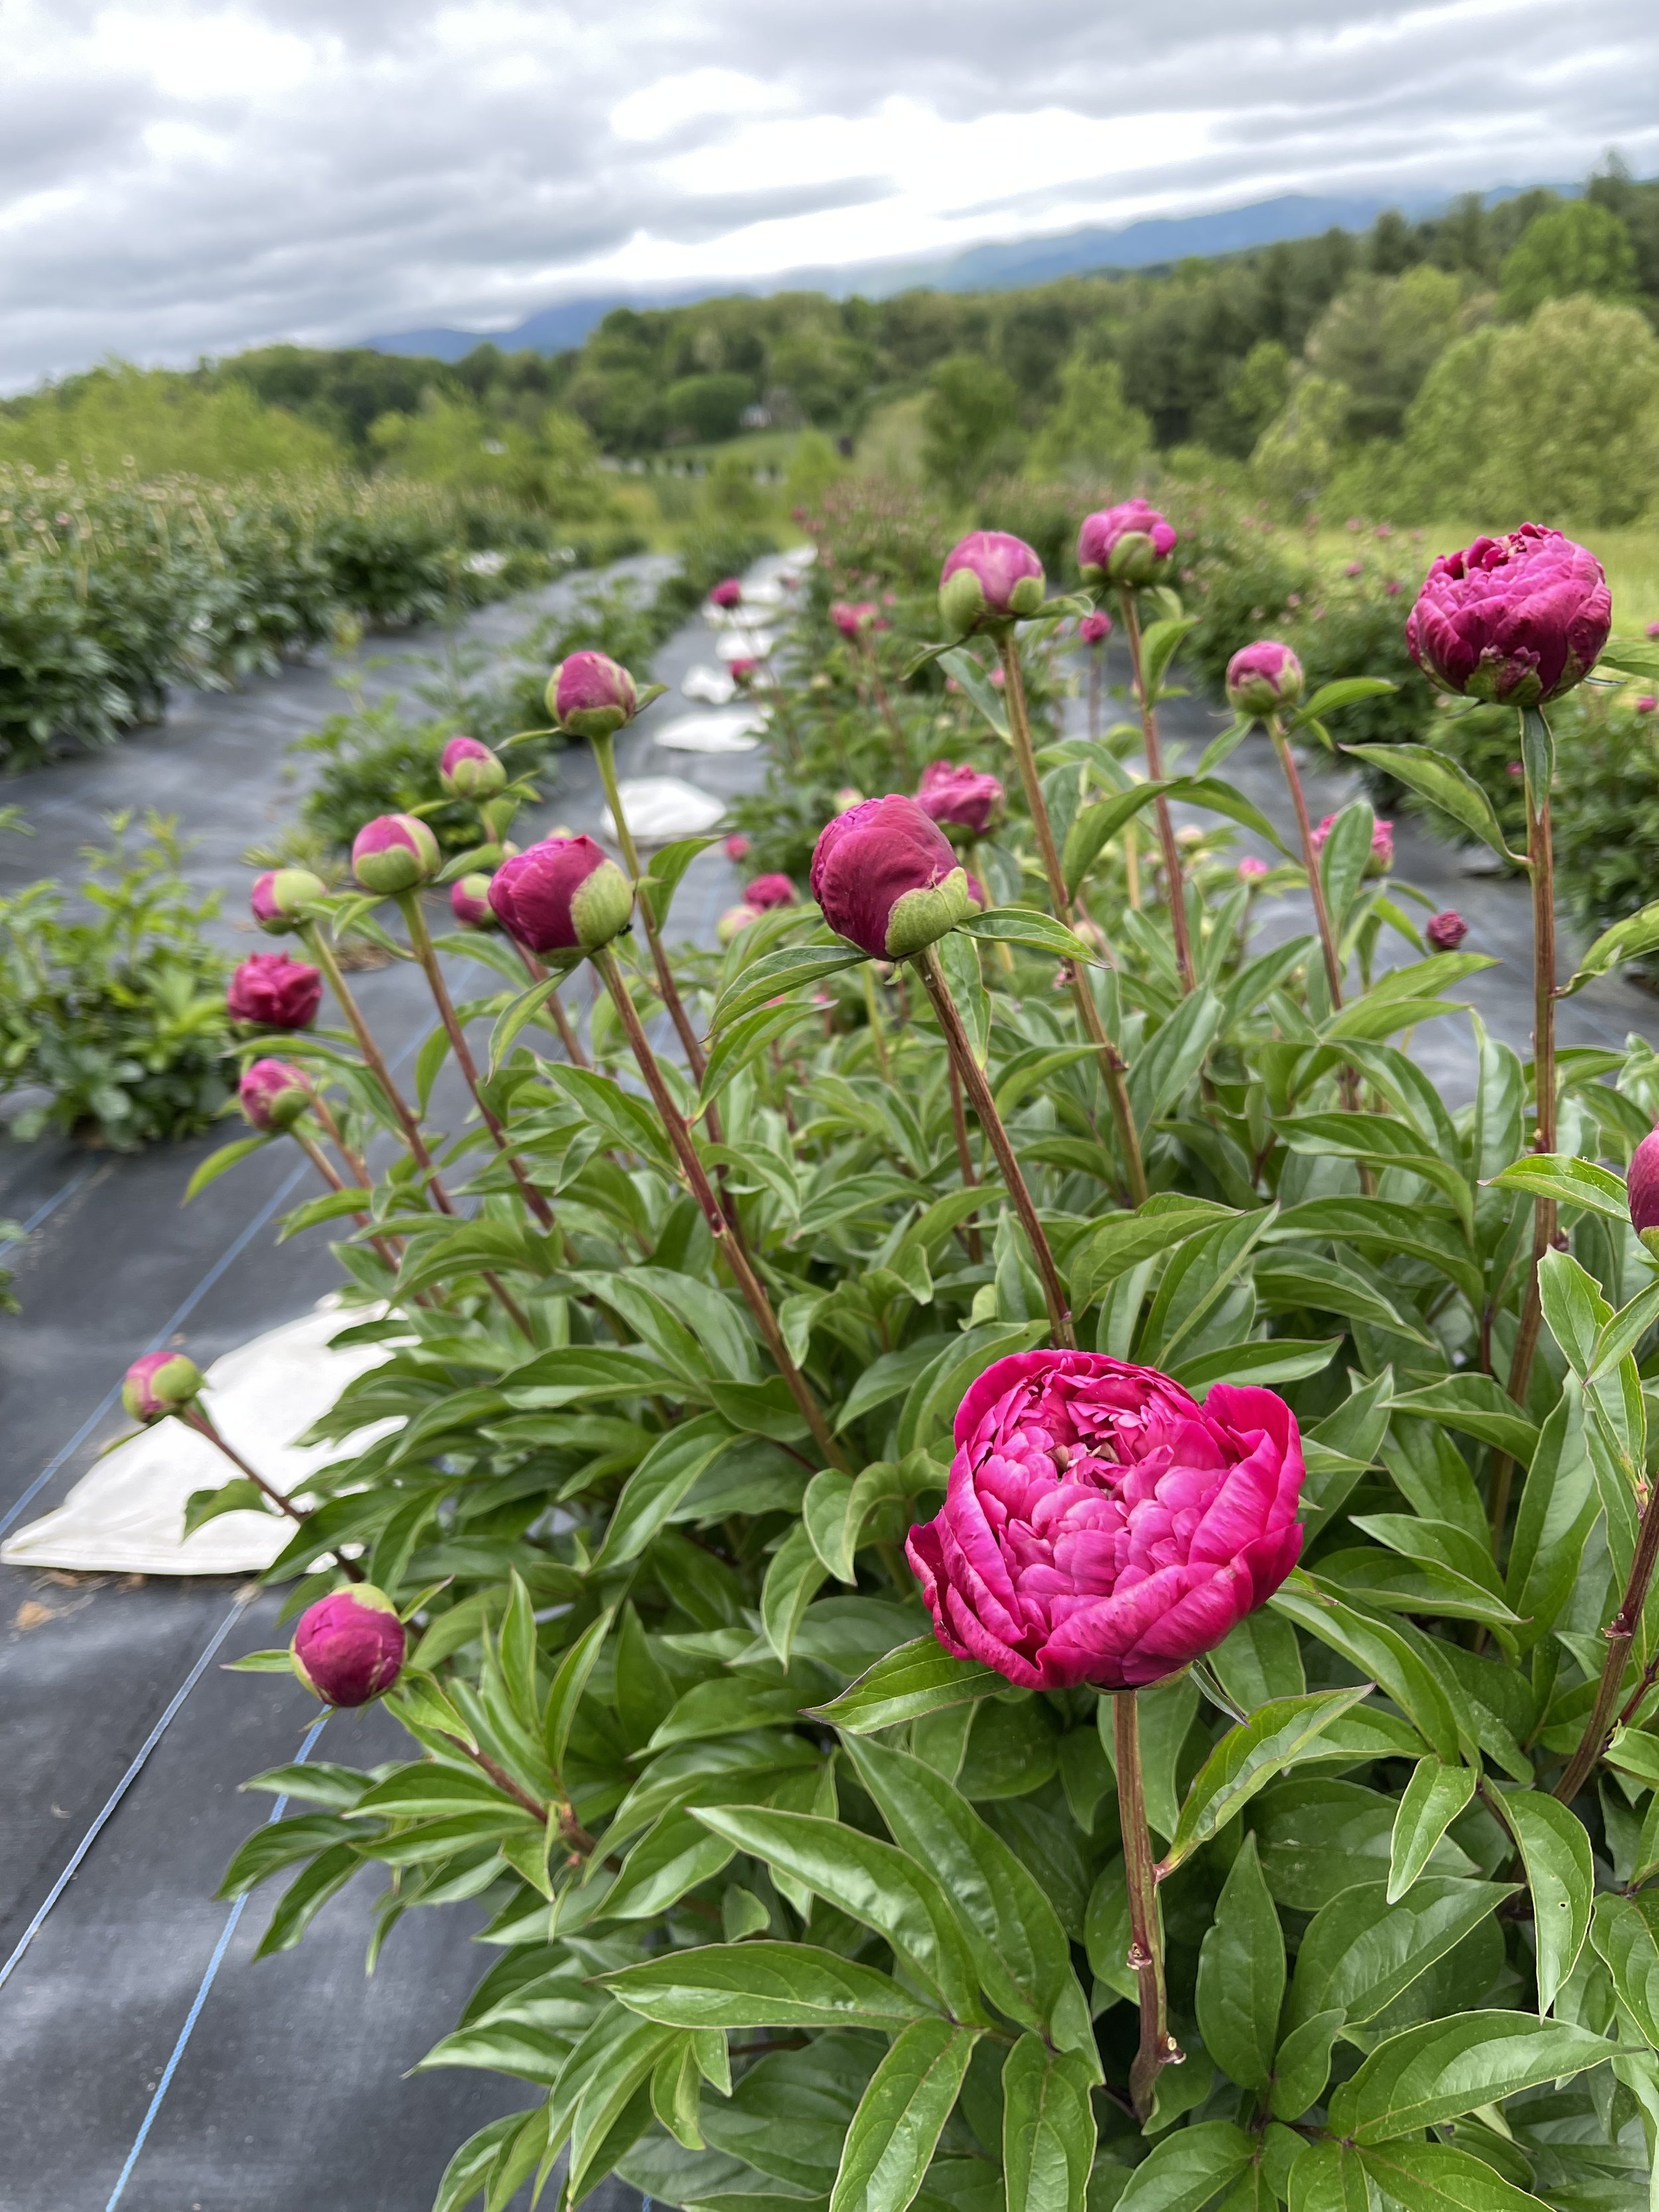
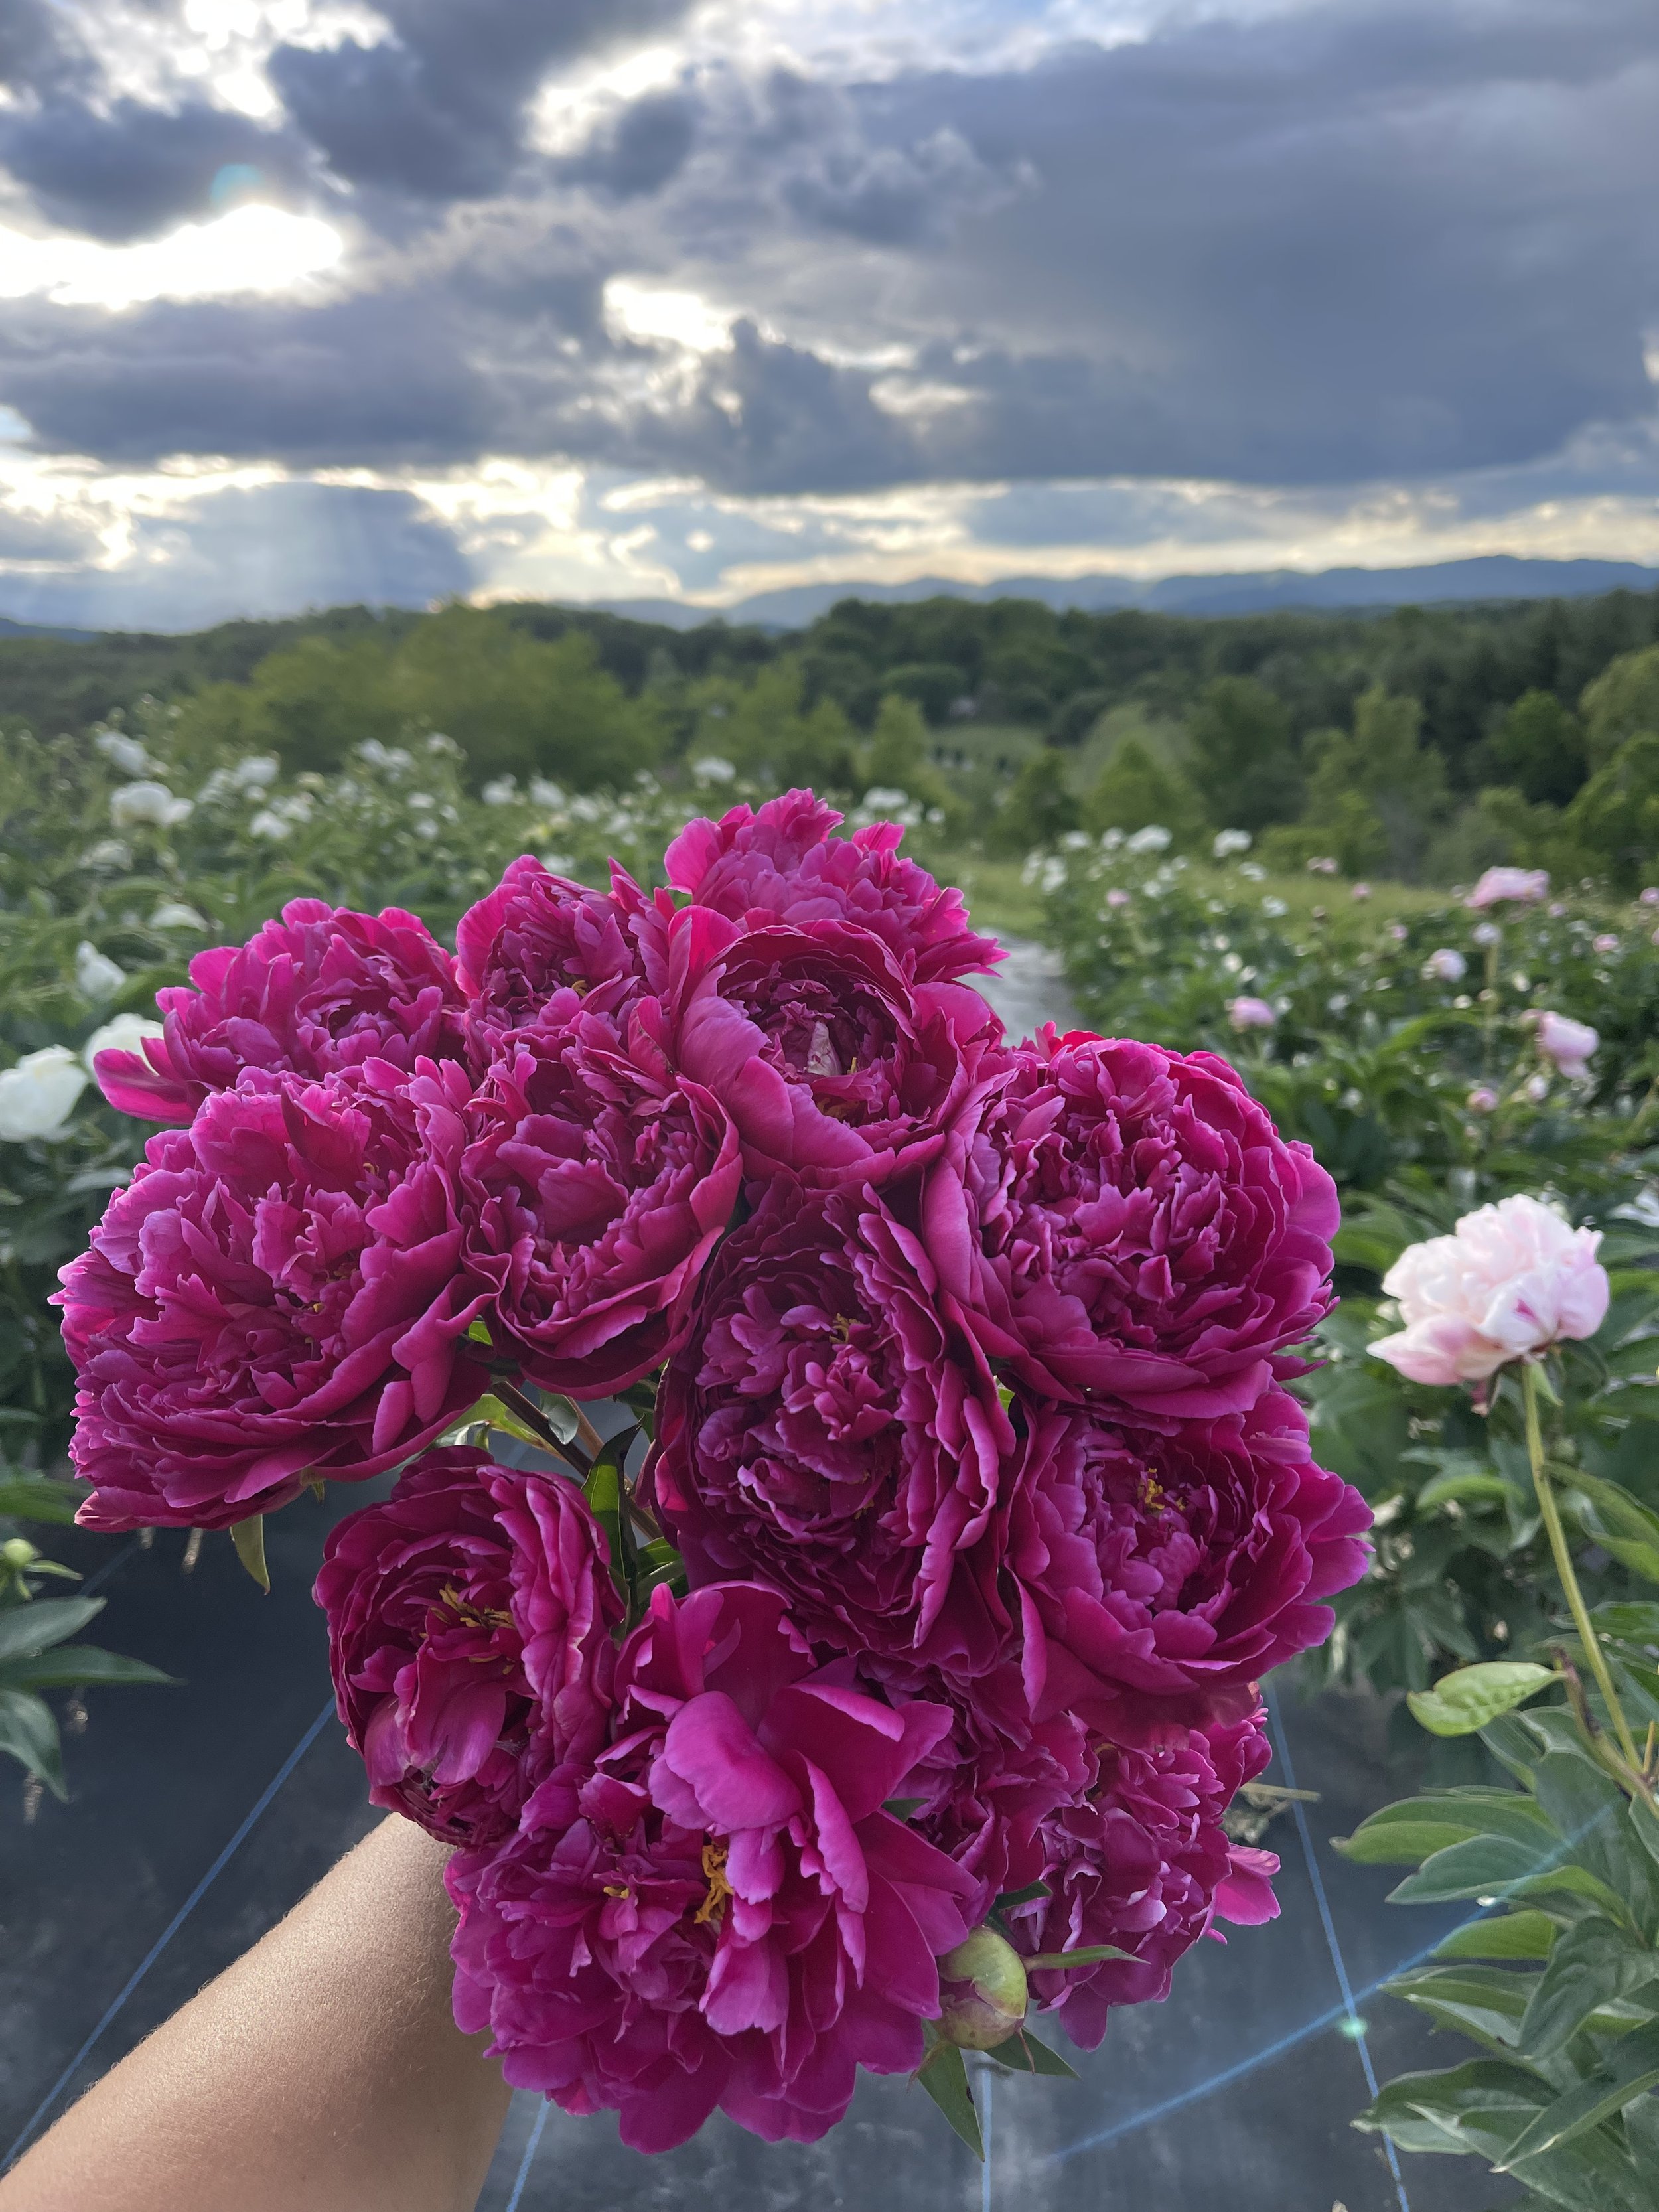
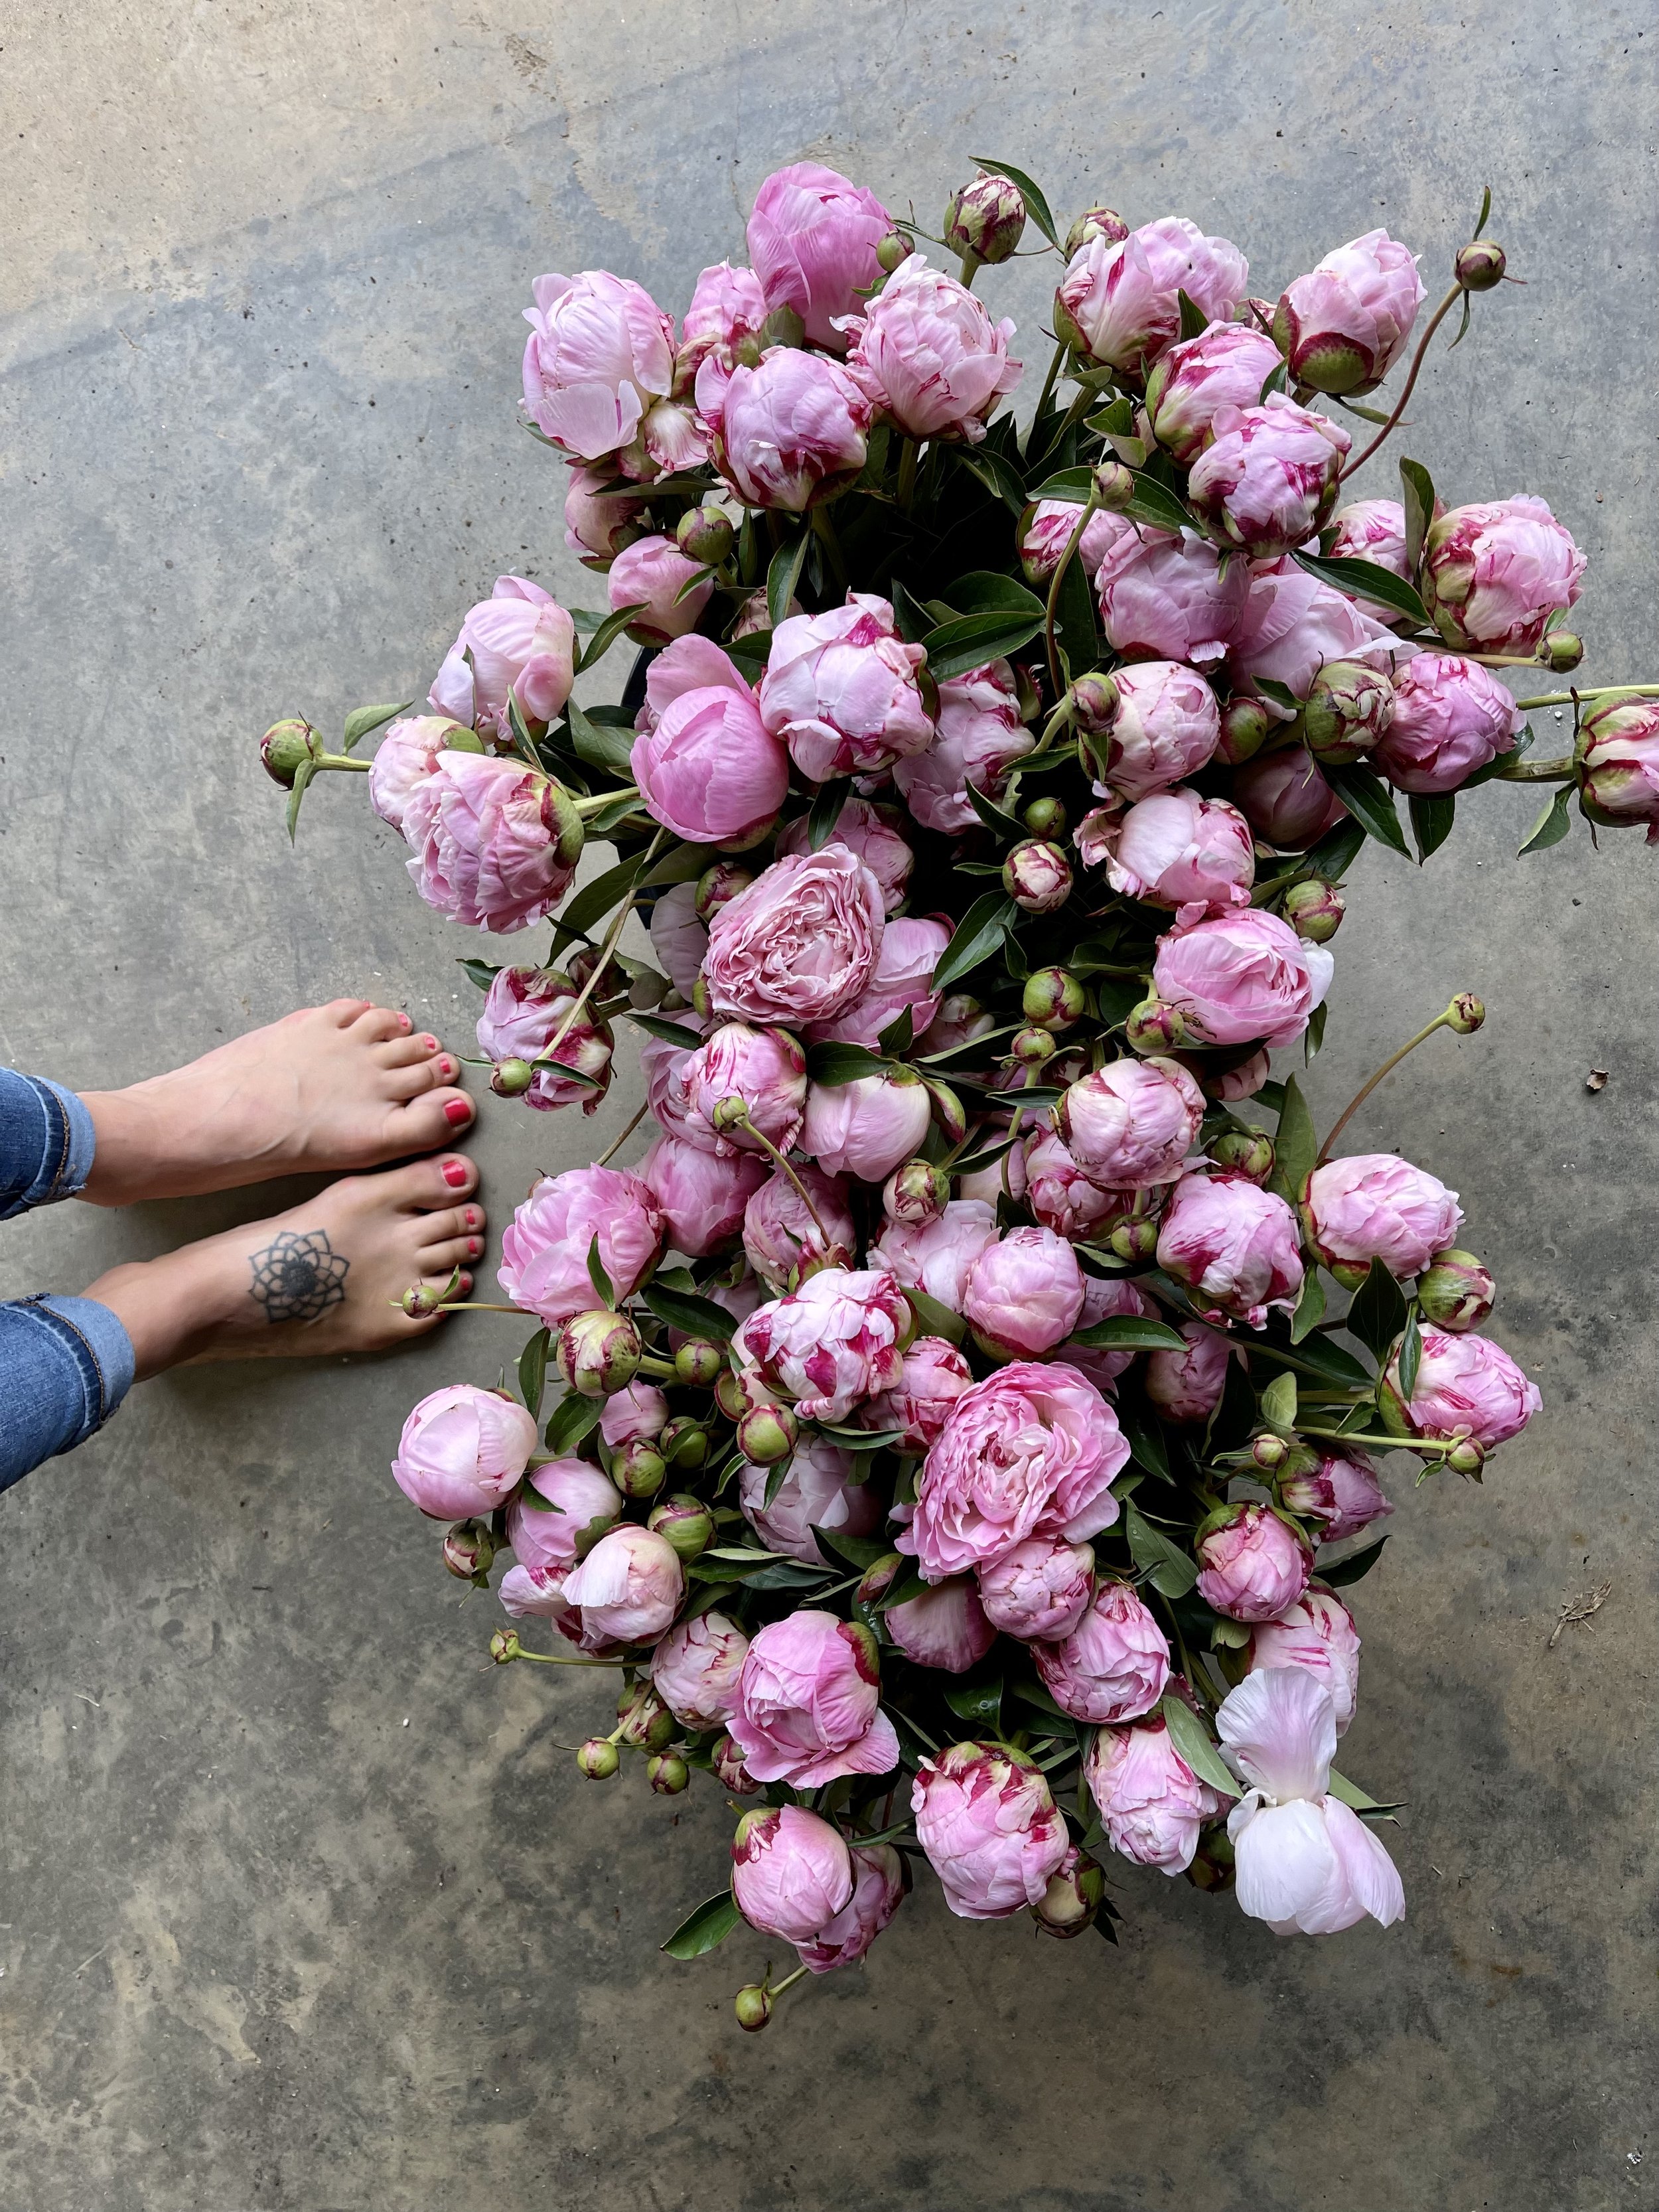
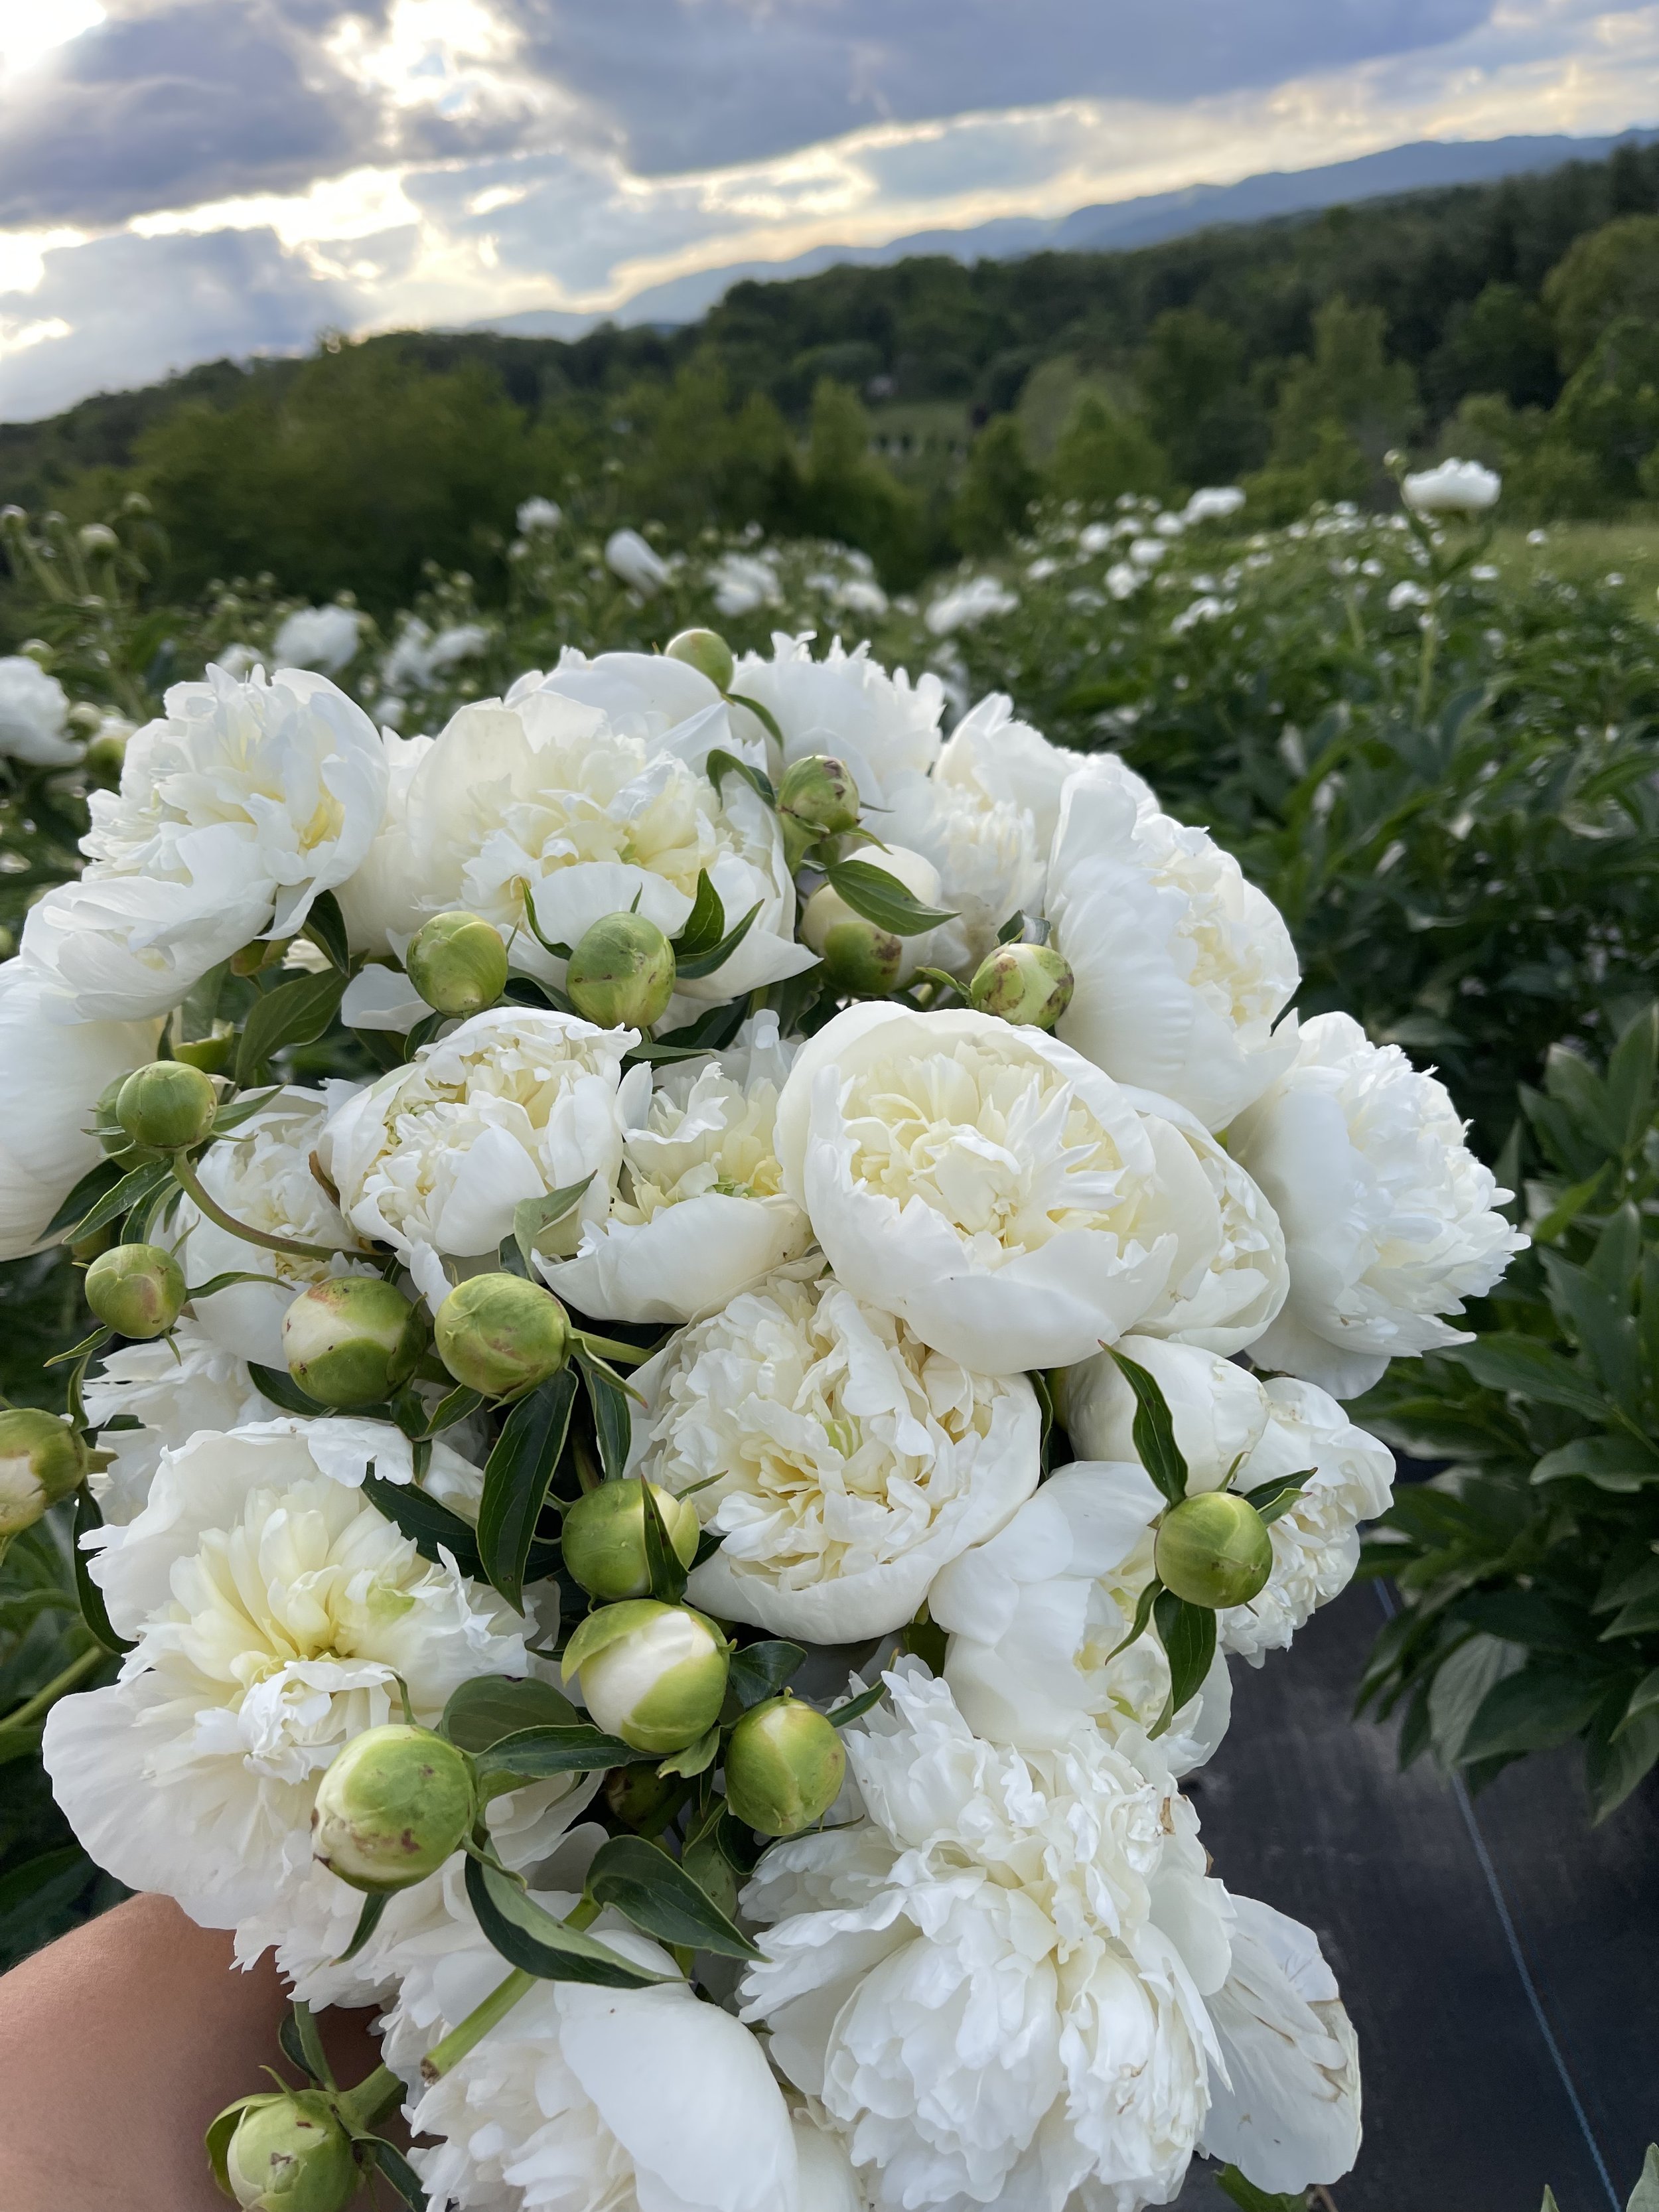
Peonies are best harvested when the buds reach a stage that feels squishy like a marshmallow. If picked any tighter, the buds may never open. You can of course harvest them later, but the vase life will be shorter. Peonies are amazing because they can be stored in a flower cooler or fridge (away from any fruits or vegetables which emit ethylene) for several weeks or months. Peonies tend to bloom within just a matter of weeks, so we harvest them all at the marshmallow stage to store them for future weddings, events and farmstand bouquets.
To store peonies: remove all foliage, make sure the stems and buds are completely dry and then wrap loosely in kraft paper or newspaper. Store the peony bundles laying flat on a shelf. Once you’re ready to use the flowers: remove them from the cooler, give the stems a fresh snip and place in a bucket or vase of water. They’ll begin to come back to life within a matter of hours!
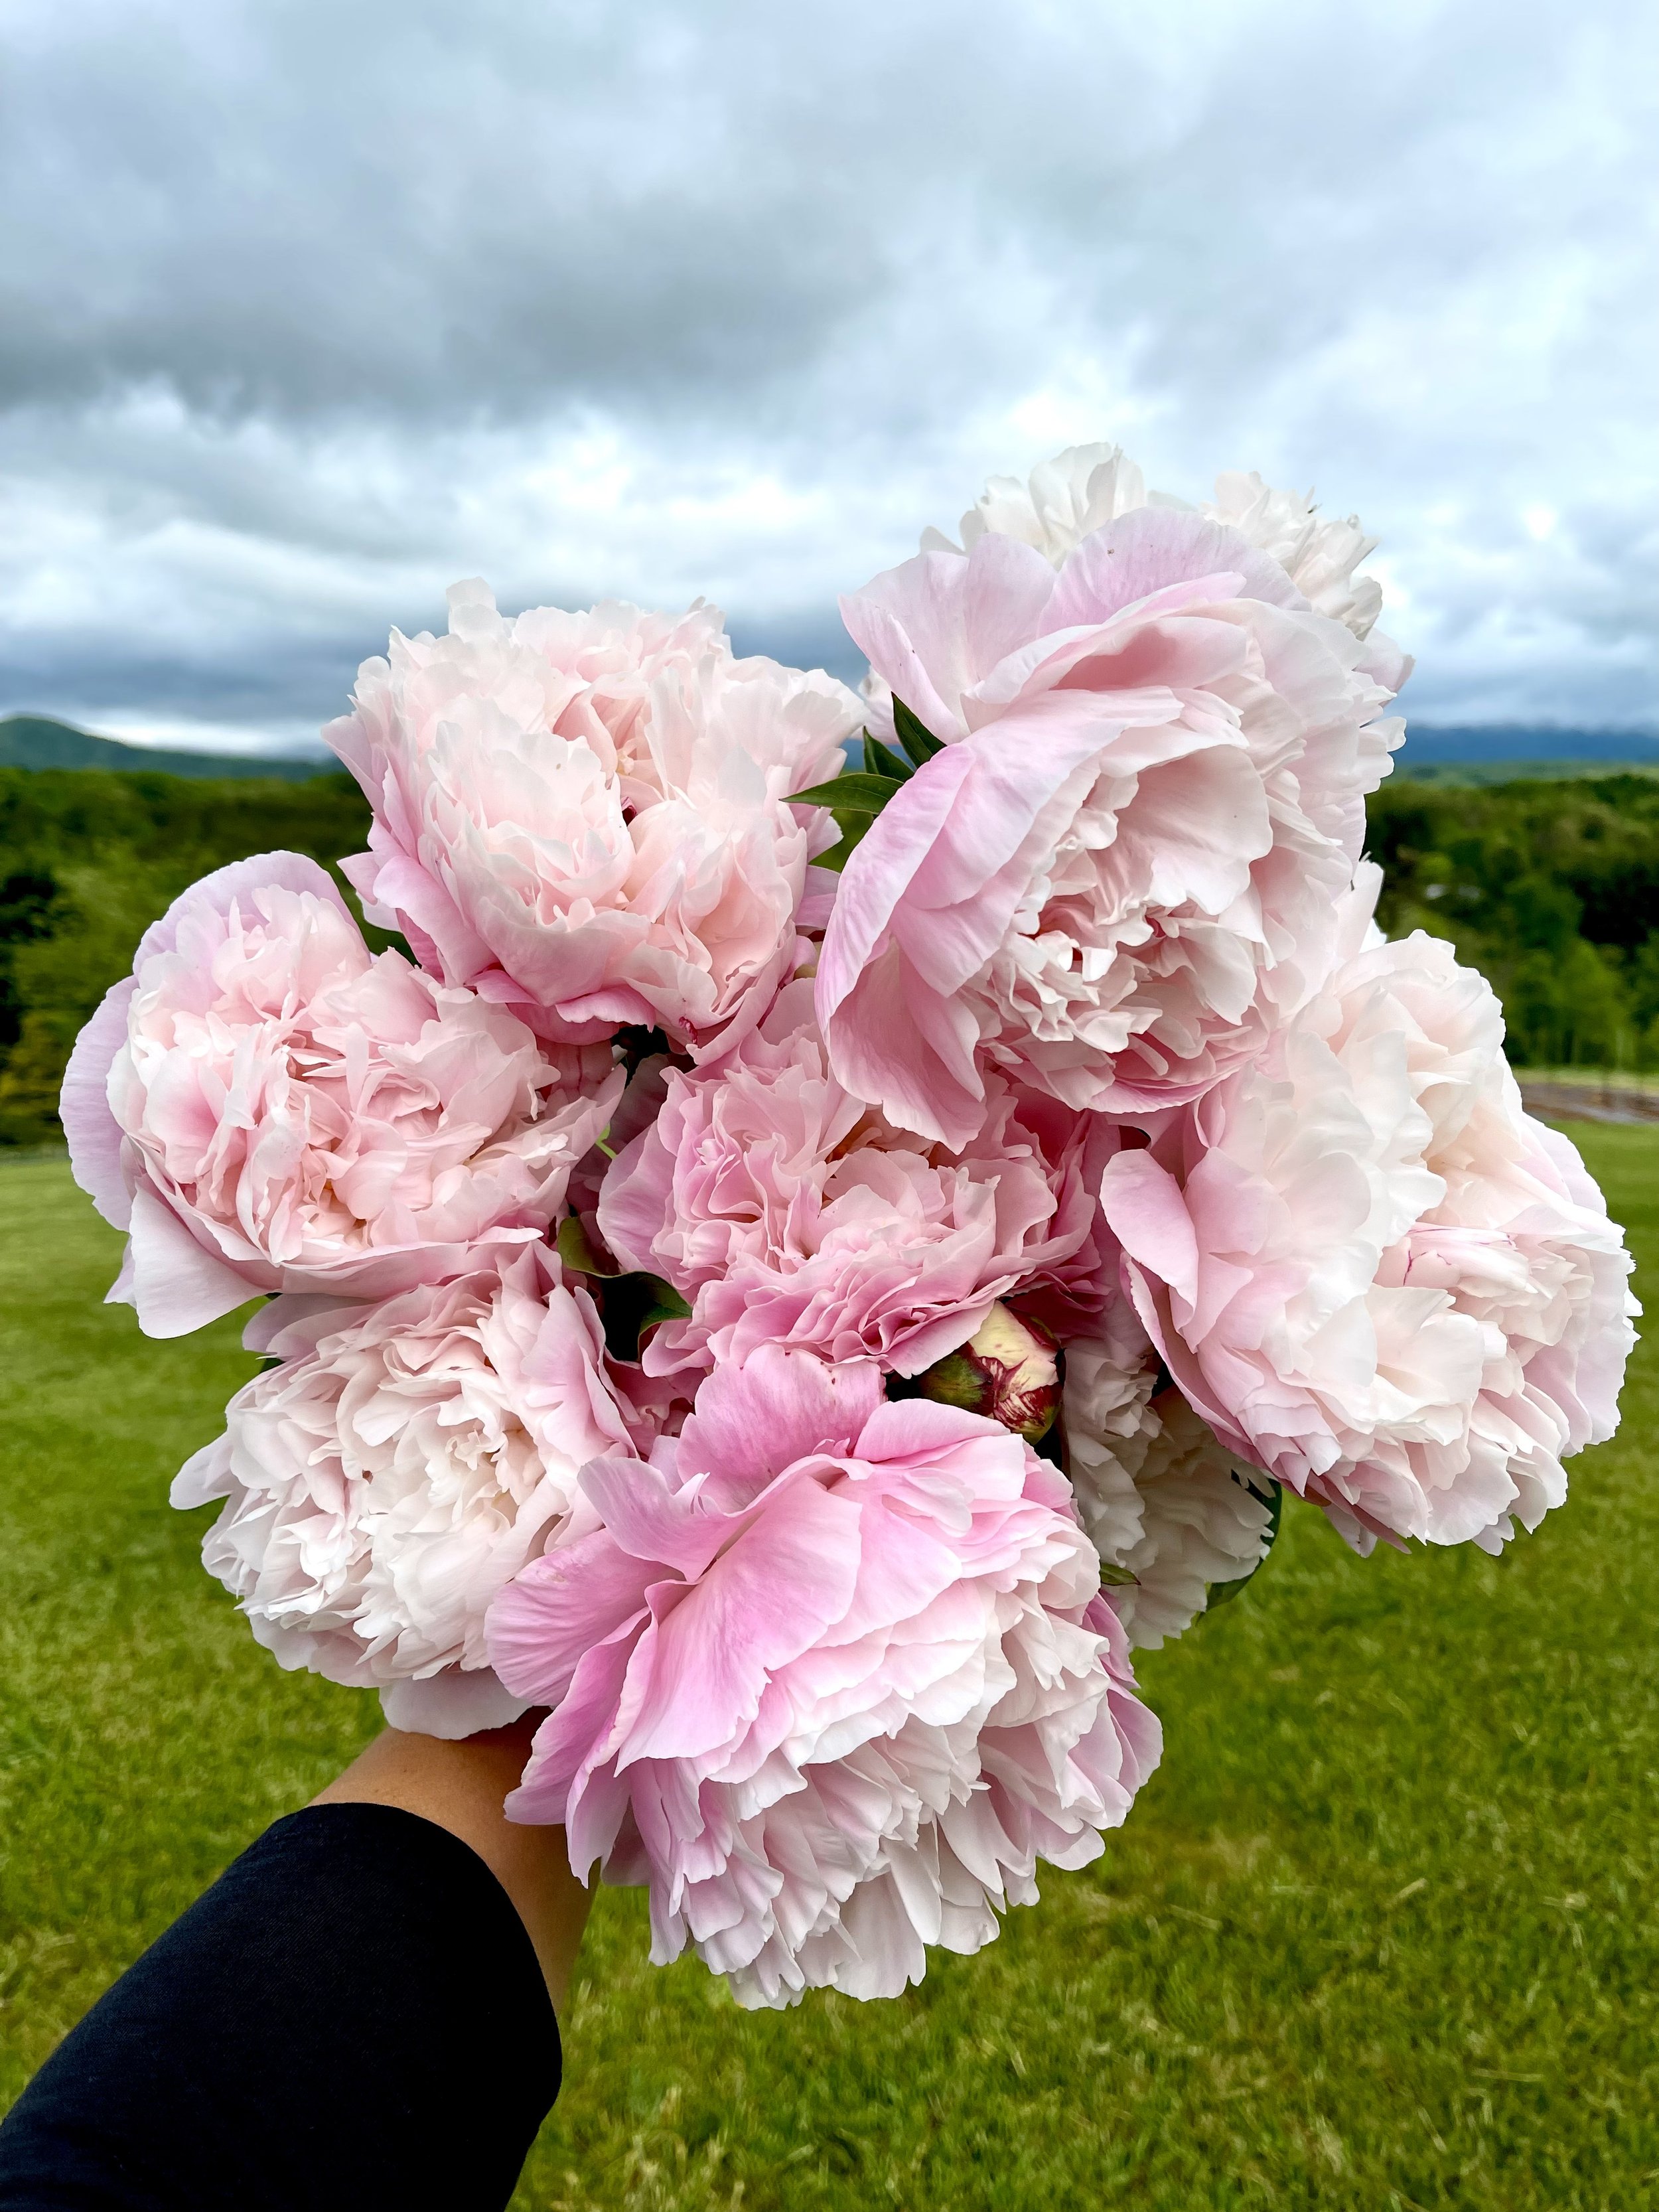
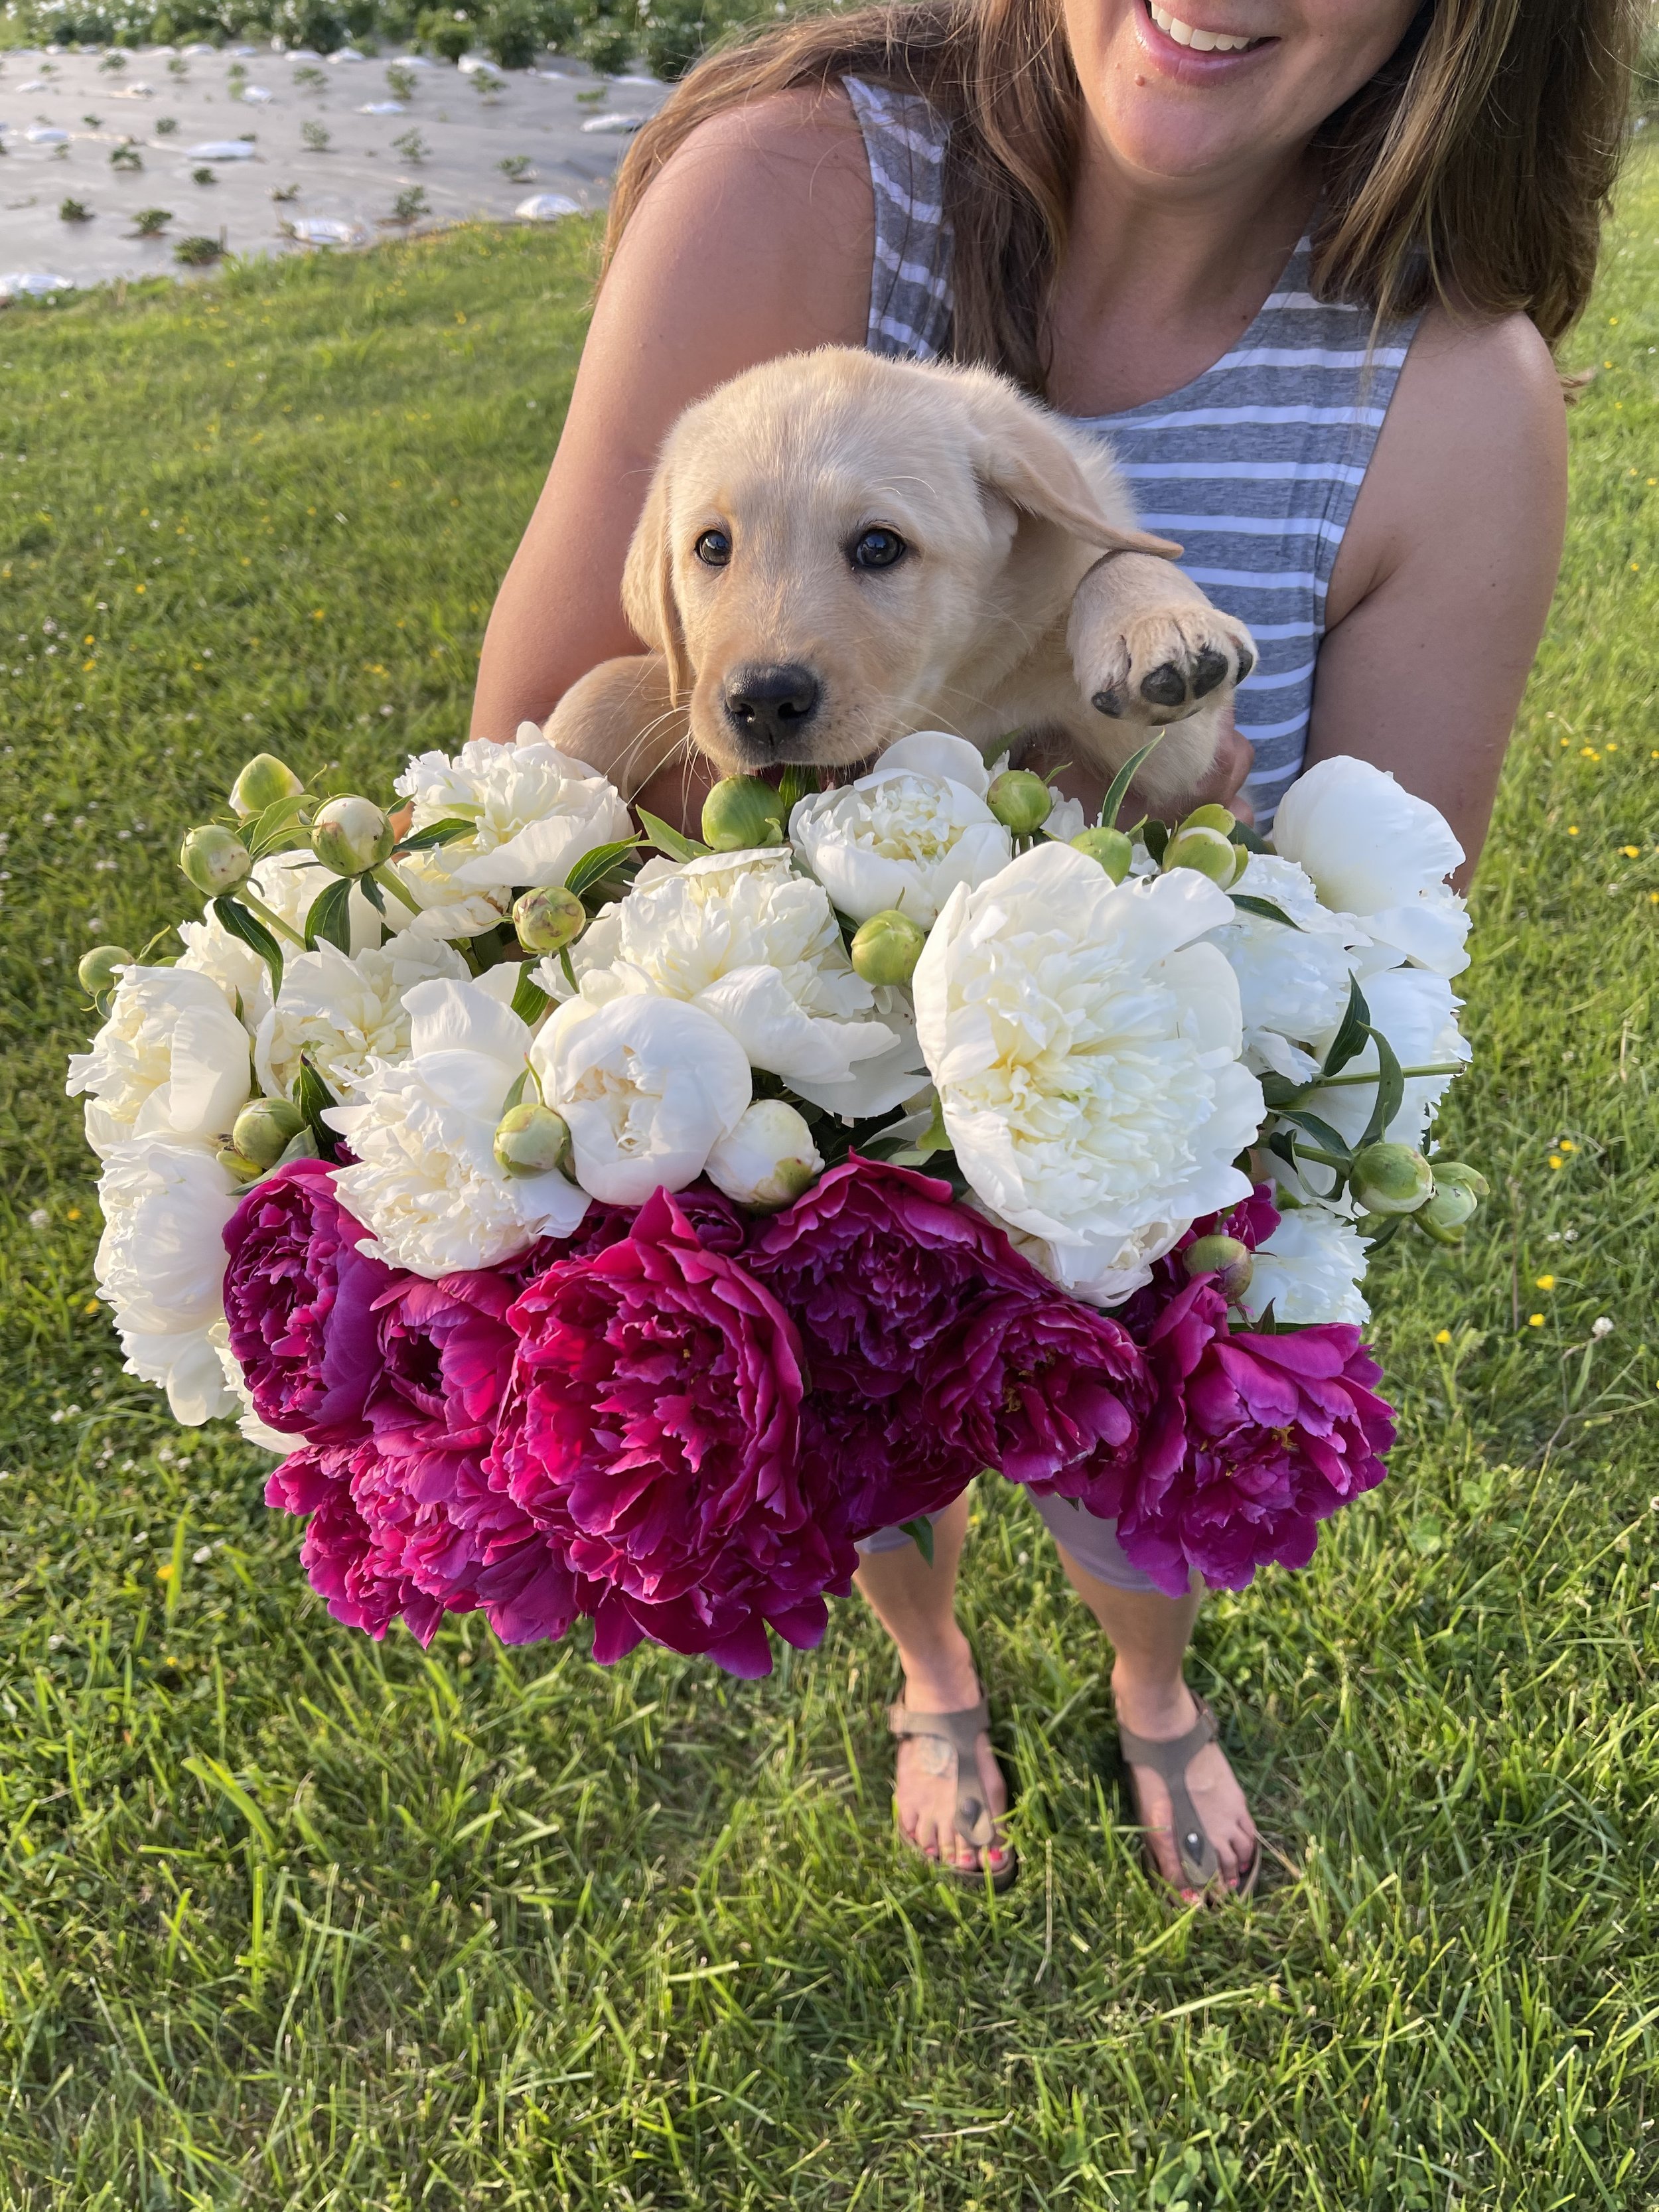

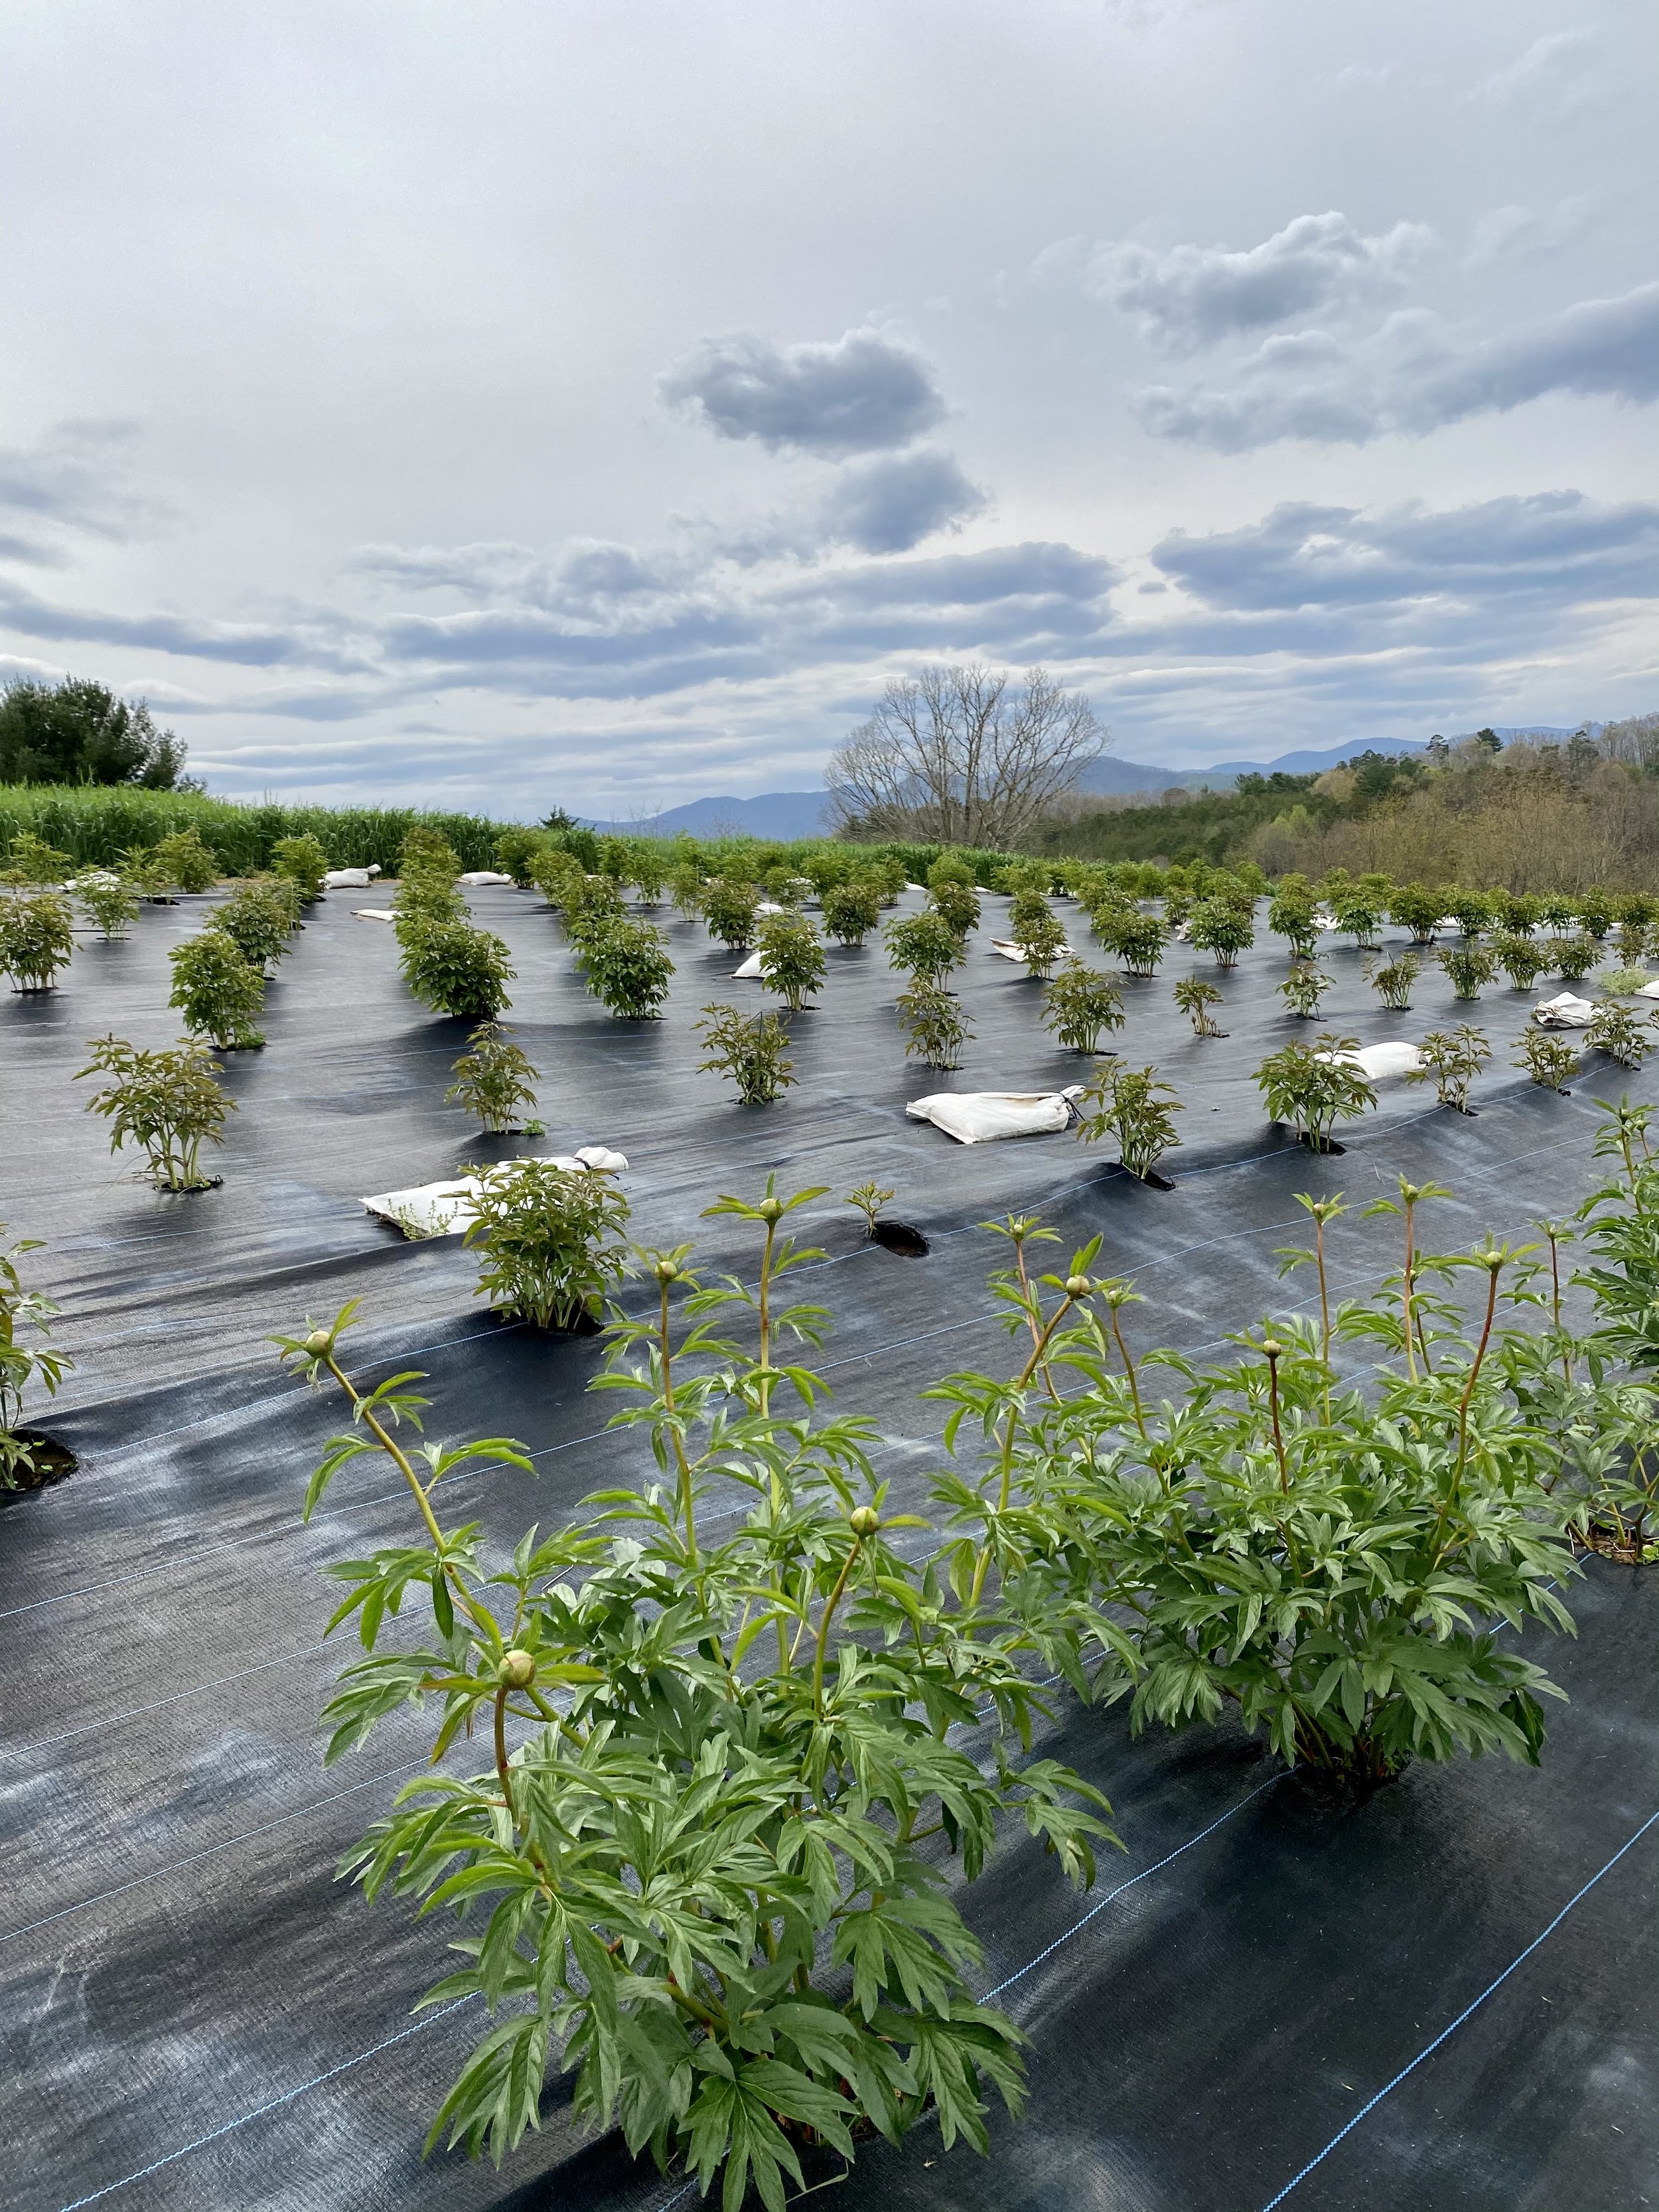
A few of our very favorite peony varieties include Bowl of Cream, Coral Charm, Duchesse de Nemours, Karl Rosenfield, Lady Alexandra Duff, Etched Salmon and Sarah Bernhardt. Peonies grow best in areas with full sun and a colder winter, such as USDA Hardiness Zones 3-8. Because of the intense weed-pressure at our farm, we grow all of our peonies in black landscape fabric. As the peony plants grow larger each year (they tend to double in size), we use a weed torch to burn the holes bigger to accommodate the larger plants. Initially we only burn a hole that is just large enough to plant the root – this ensures minimal space for weeds to grow. I believe that it’s best to give the peony roots time to establish heathy, deep roots before picking the flowers. Here is the general rule that we follow regarding harvesting: year 1 = no harvesting; year 2 = harvest only 30% of the flowers; year 3= harvest 50-75%; year 4+ harvest them all! Not harvesting allows for the foliage to remain on the plants, adding nutrients back into the roots. As with most things gardening and farming-related, everyone will have a different way of doing things. Since its the perfect time of year for some peony maintenance and to plant new peonies, I thought I would share all about our peony care process. Happy peony growing!
UPDATED ~ TIPS FOR PLANTING + GROWING PEONIES
Upon receiving your peony roots, store them (in the bag) in a cool, dark, dry space until they are ready for planting
Prepare the garden bed in full sun with well-draining soil. Peonies can handle partial afternoon shade if you live in a very hot climate. Too much shade will likely cause your peony to grow foliage, but not flowers. Choose your location carefully, as thriving peony plants will bloom for many decades.
Peony roots are best planted in the fall or early winter. As long as your soil isn’t frozen during the winter, you can plant peony roots.
Dig a trench or hole about 8-12” deep and add a sprinkle of organic compost or fertilizer. We use a well-balanced 4-6-4 fertilizer on our farm. (The compost/fertilizer is optional)
Peony plants should be spaced about 2-3’ apart.
Lay the peonies with the eyes facing up and roots facing down. Cover so that the crown (where the roots start and where the eyes sprout from) is buried with about 1”of soil. If you plant the crown too deeply, it will signal the root to go into dormancy and stop growing.
If there is no natural rainfall, water lightly after the initial planting. Roots are prone to rotting, so it is important not to overwater.
Peonies are very cold-hardy and rarely need protection. The only time that you may consider adding a layer of frost cloth is when the plants are bushy and full of buds in the late spring, and there is a hard freeze in the forecast.
Use organic mulch around the plants, such as wood chips, to prevent weeds. We plant our peonies into landscape fabric and use a flame torch to enlarge the hole each year as the plants grow larger.
TIPS FOR HARVESTING + STORING PEONIES
Peonies take time to get established and patience will reward you with healthier and more robust plants.
Year 1: Do not cut any flowers and if possible, remove all buds. This encourages the plant to put more energy into the roots, versus into a flower.
Year 2: Do not cut any flowers. Allow the plants to bloom and then snip off the flowers after blooming – cut to the first leaf node under the flower.
Year 3: Cut about 25-40% of the flowers. Cut on as short stems as possible, allowing as many leaves as possible to remain on the plant.
Year 4 +: Cut 50% + of the flowers, increasing the number of stems that you harvest each year and also increasing the stem length.
Always leave at least 10% of the blooms on your plants.
If harvested when the buds are still closed, but feel squishy like a marshmallow, peonies can be stored in a flower cooler or fridge for many weeks or even months.
After harvesting, wrap the stems in newspaper or kraft paper in groups of 10 or less. Make sure the plants and leaves are totally dry before wrapping them.
Dedicate a drawer in your fridge, away from fruits and vegetables, for your peonies. Or better yet, store them in a flower cooler. The longer you store your peonies, the shorter the vase life will be.
When ready to use your flowers: take them out of the cooler, snip about ½” off the ends and place in fresh water. They will come back to life over the course of the day.
