

Creating Your Own Simple Centerpiece
/Even though I am surrounded by flowers all day every day, I still take the time about once a week to create an arrangement for our dining room table with flowers leftover from the week's orders. Okay, full disclosure... Sometimes its not just the leftovers. Sometimes I keep the most beautiful dahlia for myself.

Photography: Taken By Sarah
Follow my detailed, step by step instructions for creating a beautiful, simple arrangement to brighten up your own table!
CHOOSING A VASE
There are so many options for choosing a vase, but the most important thing is to be sure that whatever vessel you choose is watertight. When I create a simple arrangement to give as a gift or for my own dining room table, I prefer vases that have a wide mouth and are about 8-12” tall. Don’t be afraid to think outside of the box when it comes to flower vases! Vintage pitchers, local pottery and even old watering cans make for a unique vases.
Photography: Taken By Sarah
CHOOSING YOUR FLOWERS
Its important to incorporate a mixture of different elements to create a balanced and interesting arrangement. Here is my recipe for a well-balanced arrangement:
2-3 focal flowers: peonies or garden roses in the spring; sunflowers and dahlias in the summer and fall are some of my favorites
3-4 tall flowers or spikes: snapdragons and foxglove in the spring; celosia and bells of Ireland in the summer and fall
3-4 round, disc flowers: ranunculus and anemone in the spring; marigold, sweet william, cosmos or zinnia in the summer and fall
4-5 filler flowers: forget me not or phox in the spring; feverfew or globe amaranth in the summer and fall
1-2 whimsical, airy elements: scabiosa in the spring; wild grasses, dill and queen anne’s lace in the summer and fall
4-5 sprigs of greenery: herbs, hostas, dusty miller and lambs ear are home garden staples that are perfect to include in your arrangement. “Weeds” such as honeysuckle and privet are some of my favorite, long-lasting greenery.
Don’t be afraid to add unexpected elements into your bouquet, such as artichokes, vines and unripe berries. Floral arrangements are not limited to just flowers!


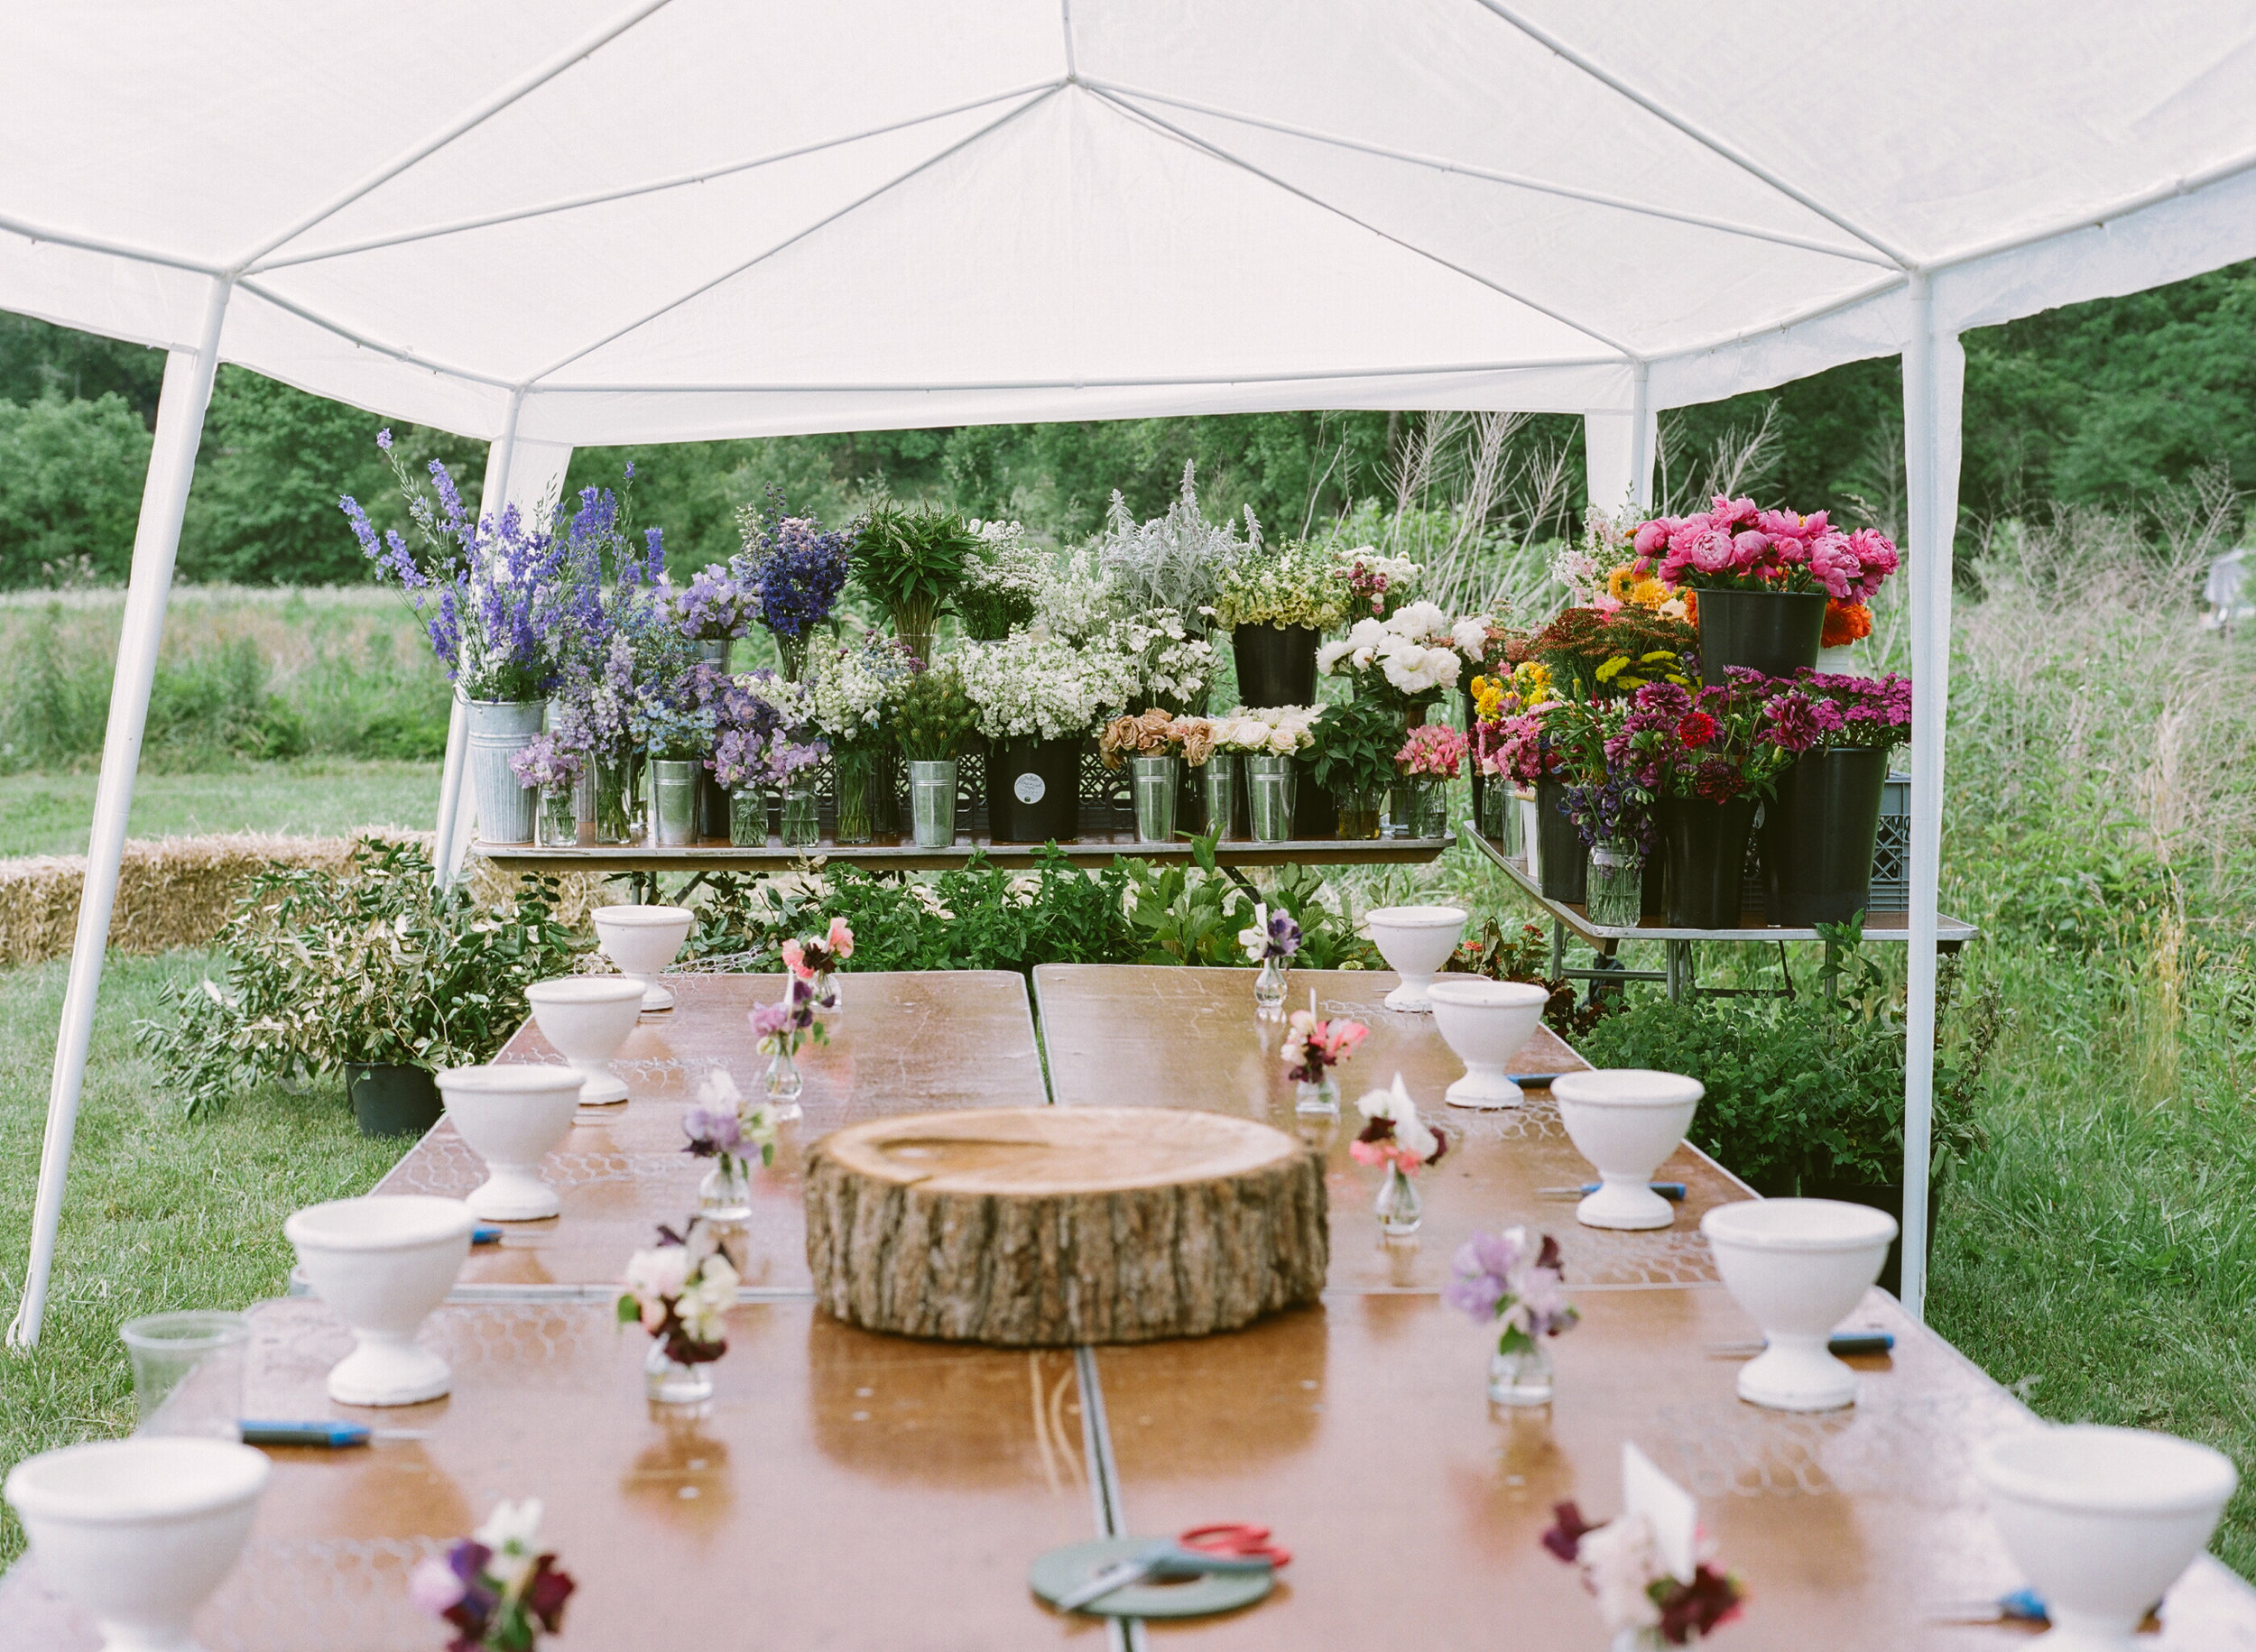
WHERE TO BUY FLOWERS
To find the best variety and freshest blooms, research where your local flower farm is located and swing by to grab a bucket of flowers. Slow Flowers and the Association of Specialty Cut Flower Growers are comprehensive nationwide resources for locating local flower growers. If you don’t have a flower farm nearby, visit a farmer’s market in your area - many vegetable farmers also grow cut flowers. Grocery stores with large floral departments often sell single variety bunches of flowers.
DESIGNING YOUR ARRANGEMENT
Clean your vase thoroughly. Cut the chicken wire to about 1.5 times the size of the opening of the vase. Squish it into a loose ball and place inside the vase. Use floral tape to make an X over the top of the vase. Fill the vase almost full with water. Use flower food if you have it.
Choose a color palette. Its a good idea to have a color scheme for your arrangement in mind before you purchase or harvest your flowers, or wait and let one specific flower provide the inspiration. For example, a coral charm peony may be the perfect inspiration for a spring arrangement. I would then choose colors that will accentuate my peony. I love using flowers that are not all exactly the same color, but rather complementary tones in varying shades.
Begin with the greenery, placing it around the outer edge of the vase and 1-2 sprigs in the middle of the grid.
Next place your tall/line flowers in a tripod shape around the vase, in slightly varying heights. Aim to add them at an angle, rather than straight up and down.
Add the focal flowers. I love layering 2 focals together at slightly different depths and heights to provide dimension and a real “wow” moment within the arrangements. You can add them around the entire vase so that it’s pretty from all sides, or make it a one-sided arrangement.
Add clusters of supporting focal flowers, layering and staggering them between the focals to create their own special moments. Use filler flowers to fill in the gaps between everything, making sure to cover your mechanics. Add in one stem at a time so you can see where there are gaps in the arrangement. Sometimes its nice to use neutral filler flowers to really let the others pop!
Finally, add in your whispy, whimsical elements. Place these so they dance above the other flowers or are dangling over the edge of the vase.
Once I’ve completed an arrangement, I always walk away for a few minutes so that I can come back with fresh eyes. Almost always I will notice a gap that I didn’t see before or find something that I want to adjust.

Photography: Taken By Sarah
CARING FOR YOUR FLOWERS + EXTENDING THE VASE LIFE
Cleanliness is of the utmost importance for fresh flowers! Remove any leaves growing low on the stem that may touch the water. Leaves in the water will cause bacteria to grow more quickly. Bacteria is the #1 cause of short vase life of cut flowers, besides the flowers being harvested at the improper stage.
Trim the stems at an angle using a sharp knife or flower snips. A sharp knife is better than scissors, as scissors tend to crush the stems and inhibit their ability to soak up water.
Change the water every other day (or as often as possible) to minimize bacteria growth. If you can’t take the flowers out of the vase, dump out the old water and refill the arrangement with fresh, clean water.
Keep your flowers in a cool location and out of direct sunlight.
Admire & enjoy your blooms!
I'd love to see what beauty you create! Share your arrangements on social media and use the hashtag #flourishflowerfarm
xoxo Niki
